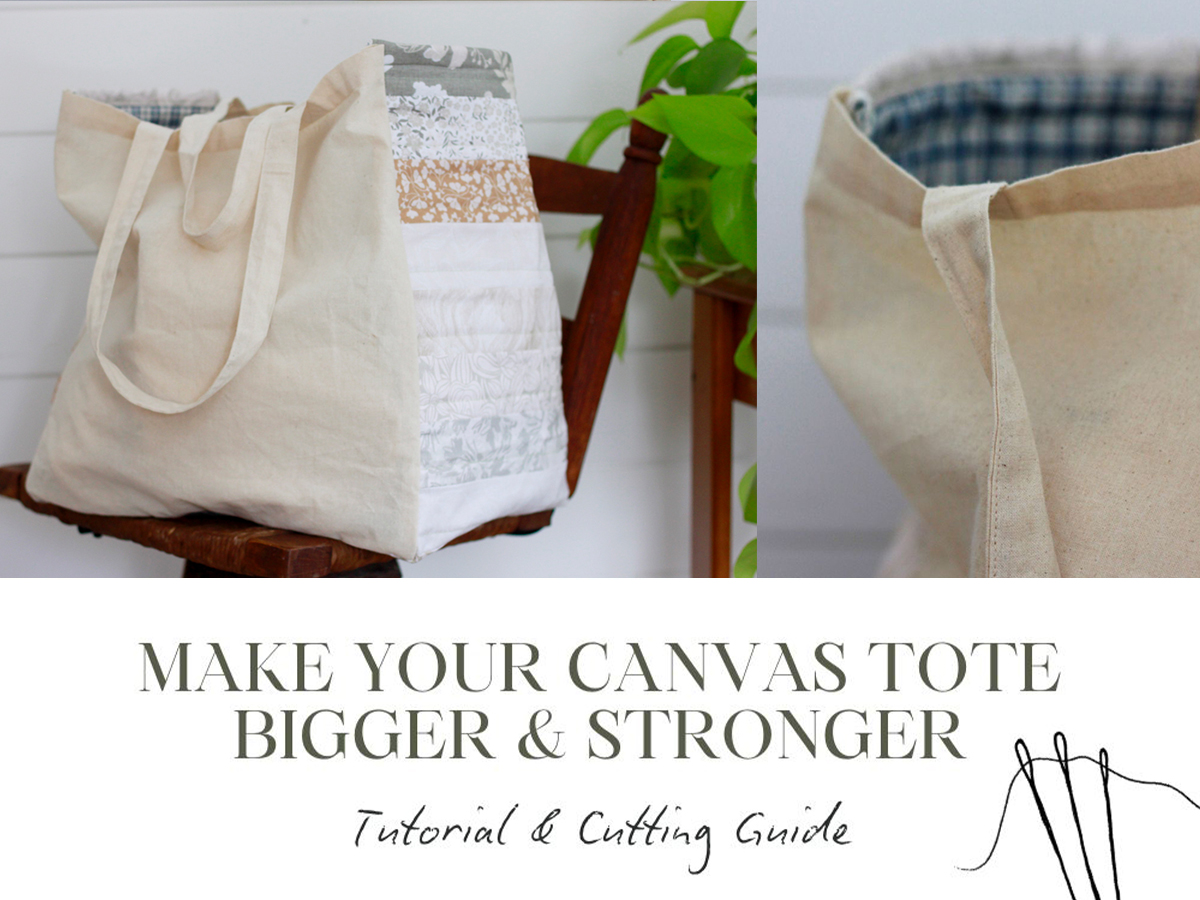
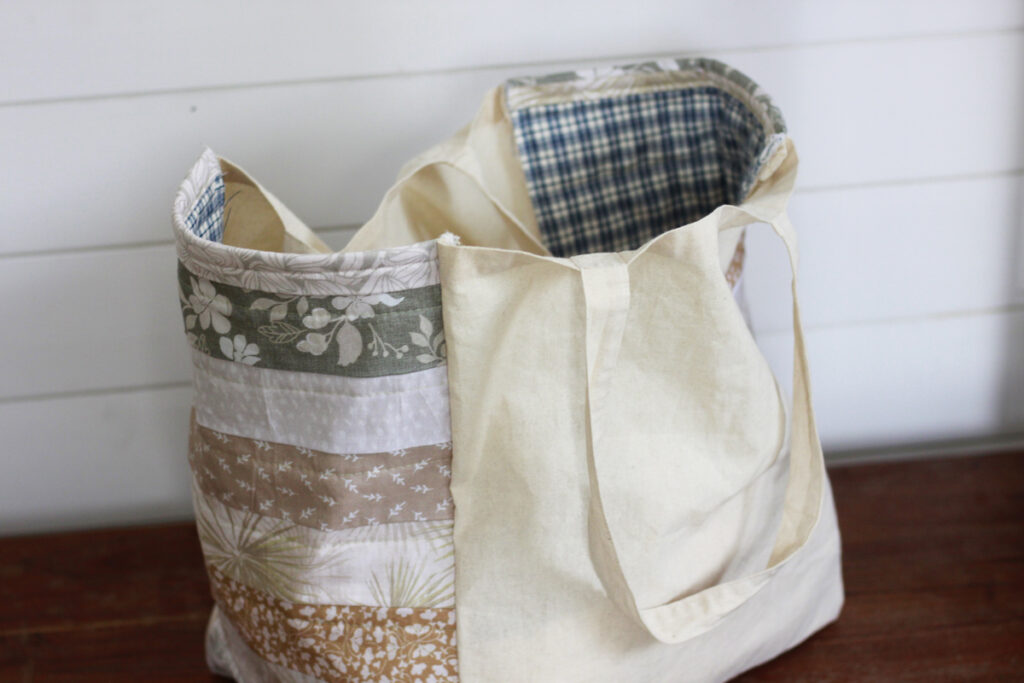
Enlarging a reusable canvas bag is a rewarding project and is simple to do, even for beginners. Whether you use your canvas bag for your library books, the grocery store or farmers market, you’ll find this diy project will give you a new, practical, eco-friendly and custom bag for all your needs. Follow along and learn how to make your reusable canvas bag bigger.
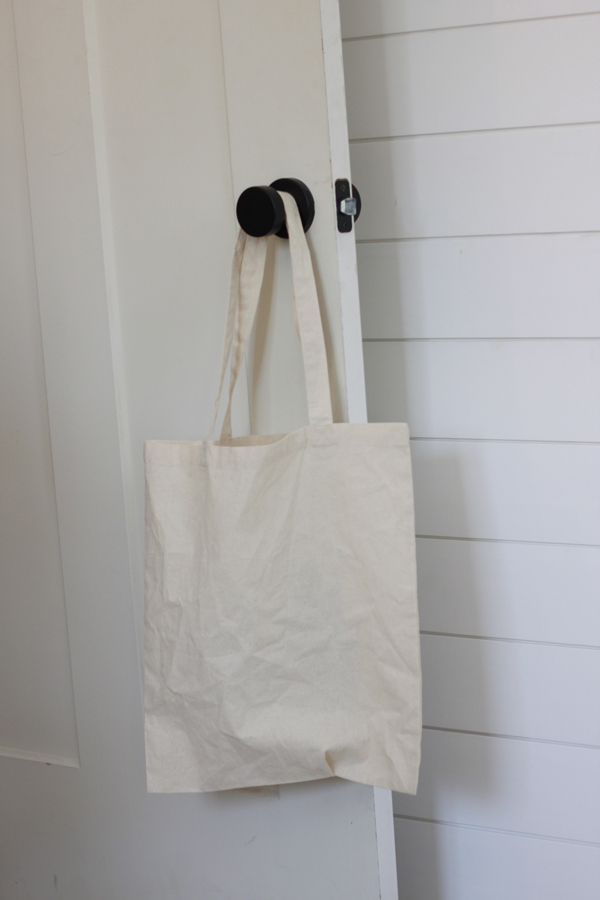
Chances are you may have one or two of these laying around. We seem to get one every time we attend a concert or event. The worst part about the bags is that they don’t hold very much, and the mouth opening is small. The canvas bags are often advertised as great for replacing plastic bags at the grocery store but they are not optimal size – today, we will change that.
Deconstructing a Canvas Bag
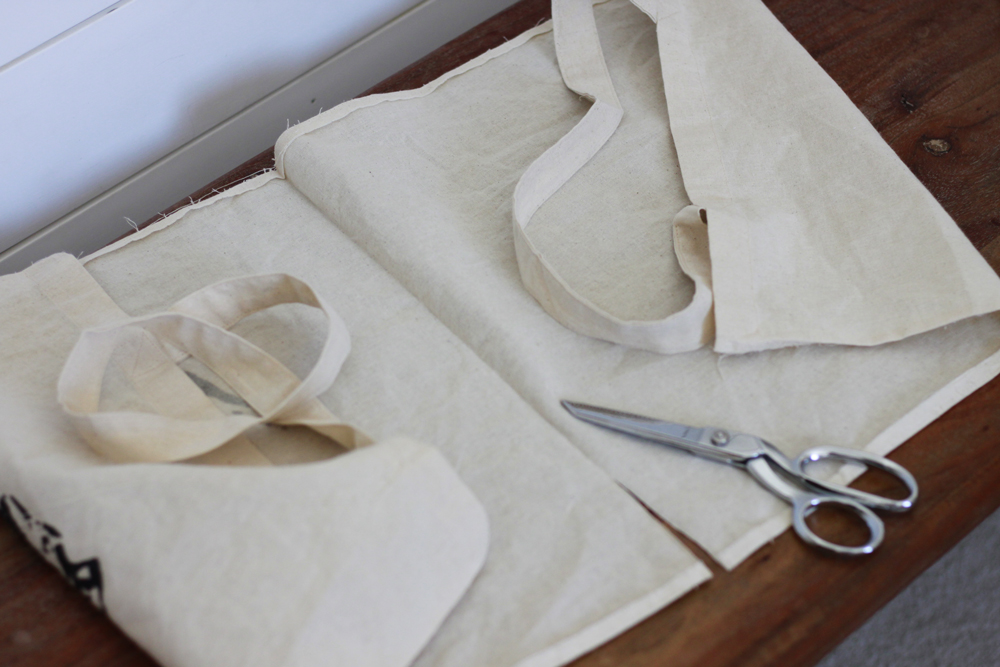
Separate the side seams of your canvas bag with a seam ripper or small scissors.
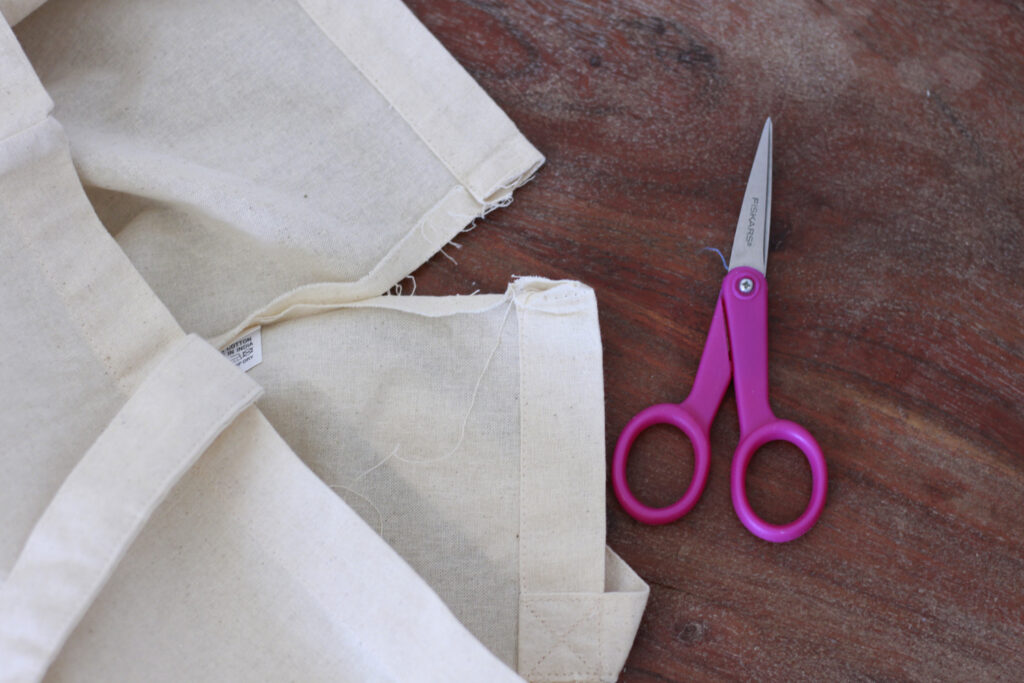
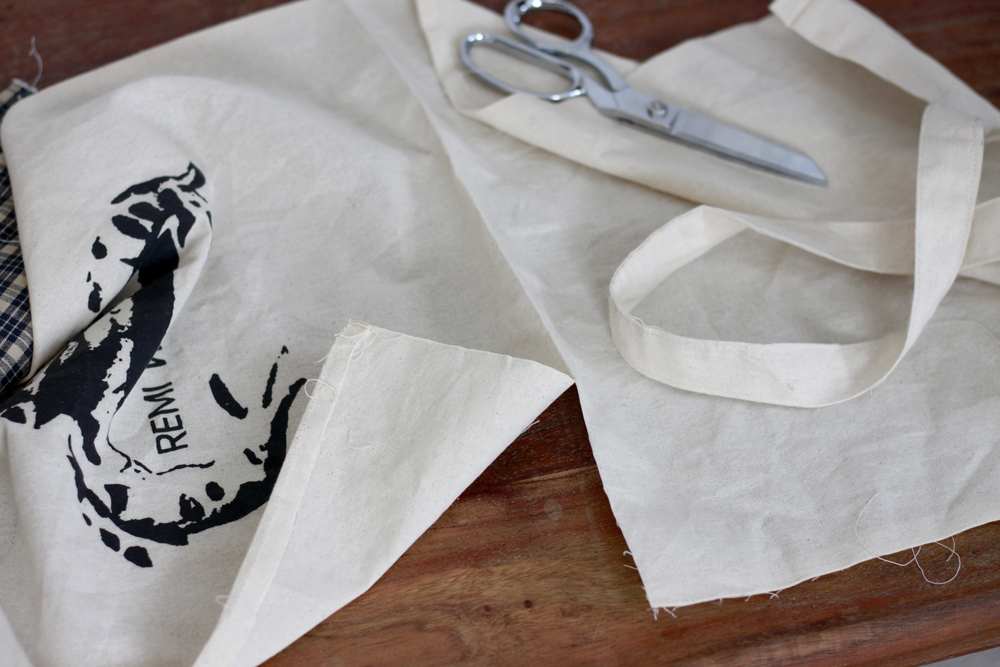
If this is too tedious or the side seams are tough to open, it’s no problem to cut into the seam or next to the seam. You may lose a bit of bag size, but it is a miniscile amount. Sometimes, these cheap-o bags have some tough seams. When you are finished, your bag will be one long piece. To enlarge the canvas bag, we will insert a new panel to make the bag bigger.
Create the Sides and Bottom Panel of your Canvas Bag
Measure the length and width of your bag. Using this formula, calculate the length of your panel, adding extra for a hem.
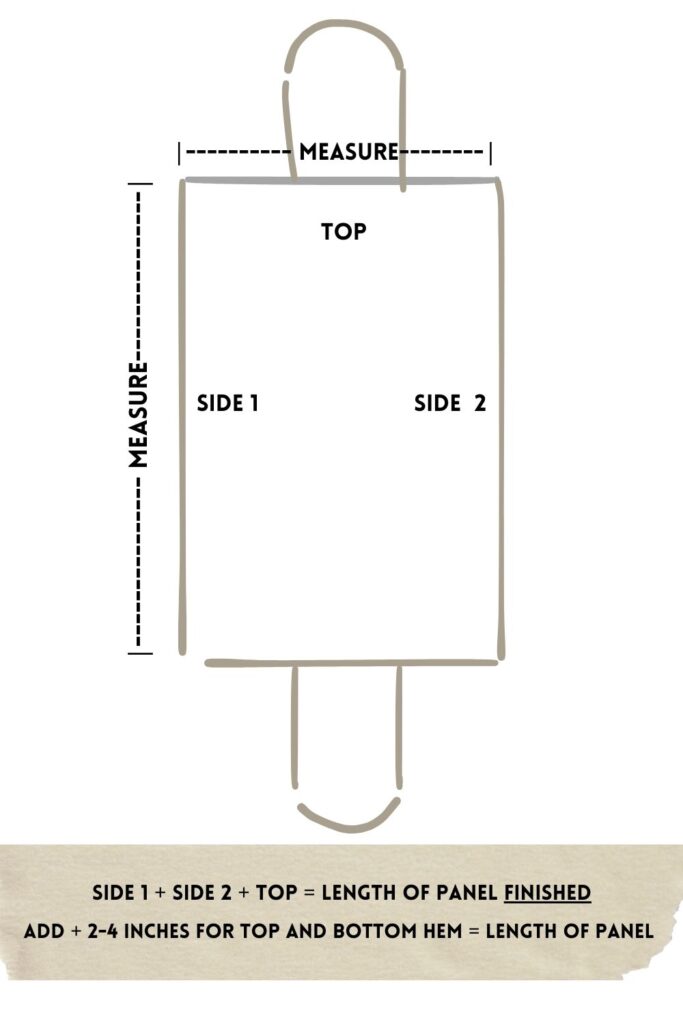
The sides and bottom of your bag can be any width. I advise not to make the sides of your bag bigger than the front of your bag or it may finish up a bit wonky. Though, if you did do that the bag would still function, but your sides would act as the “front.”
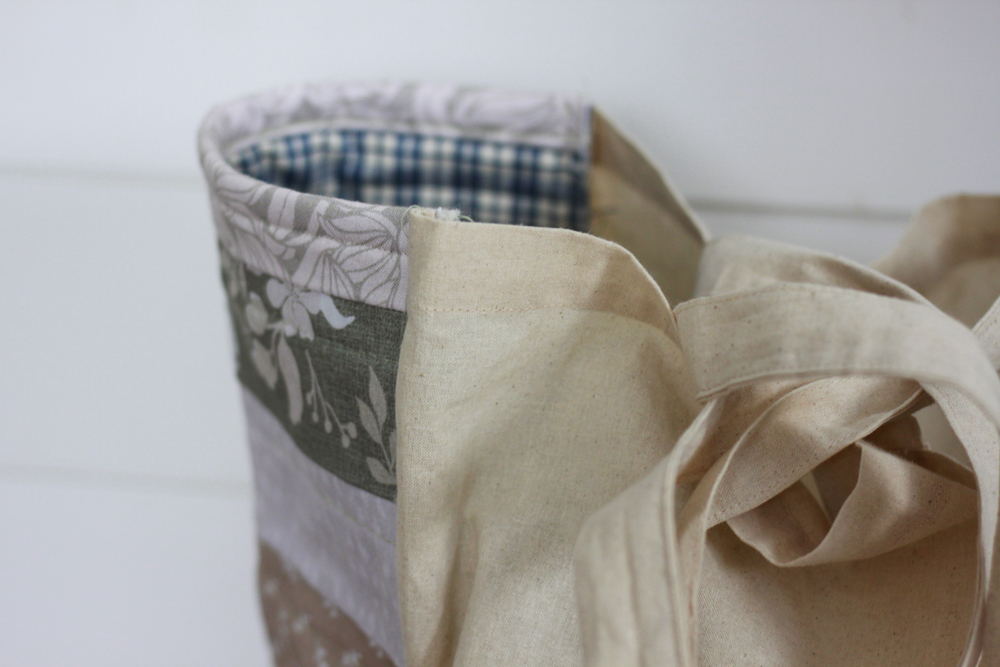
My panel in this design is about 10 inches wide for your reference. I am using some leftover pieced scrap from a tablerunner I made. I decided to take an extra, optional step and quilt the panel. This added extra stability in the finished canvas bag.
Hem
Before attaching the panel, hem the panel on both ends. (The short side of your panel.) Ensure the final measurment is correct.
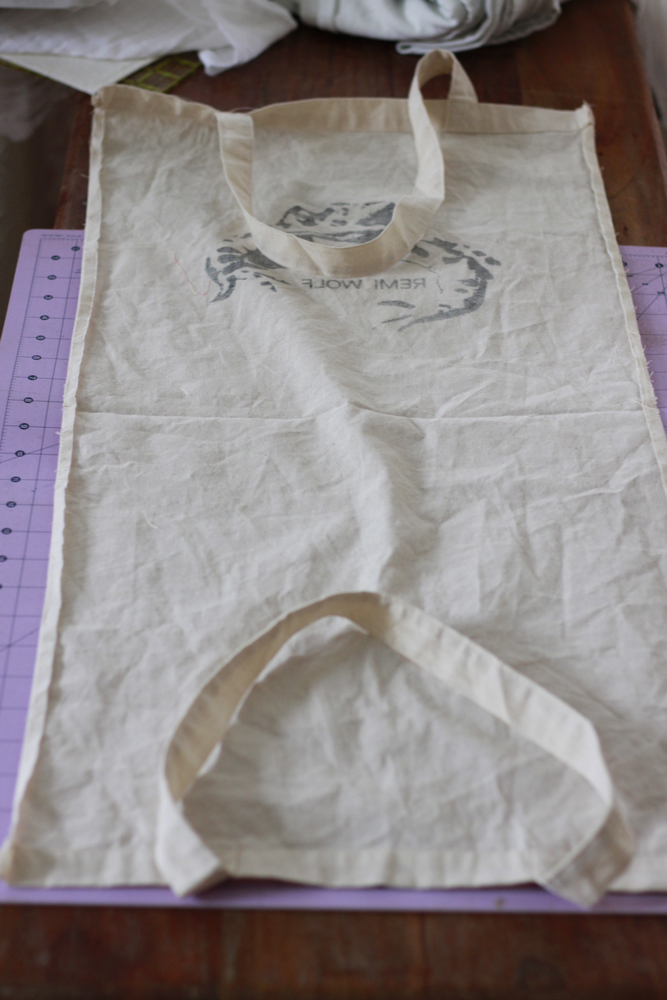
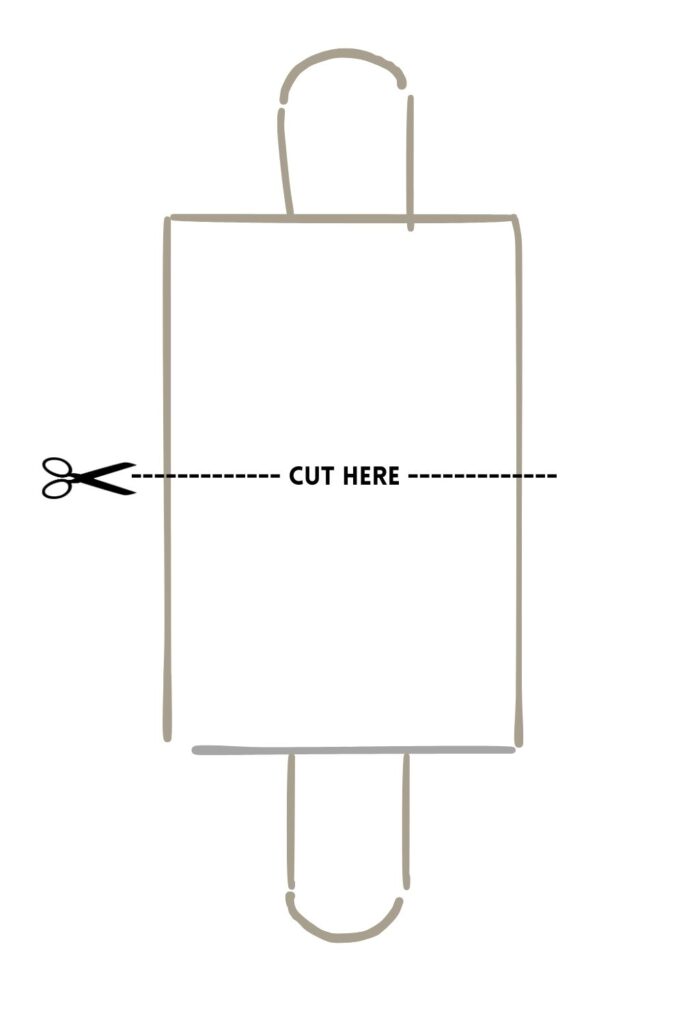
Prep the Front and Back
Now, we will cut the bag down the center. My bag already had a crease which made it easy for me to cut with scissors.
Attaching the Center Panel
Line up the top of your panel with the top of the bag and clip together with the front of the fabric facing.
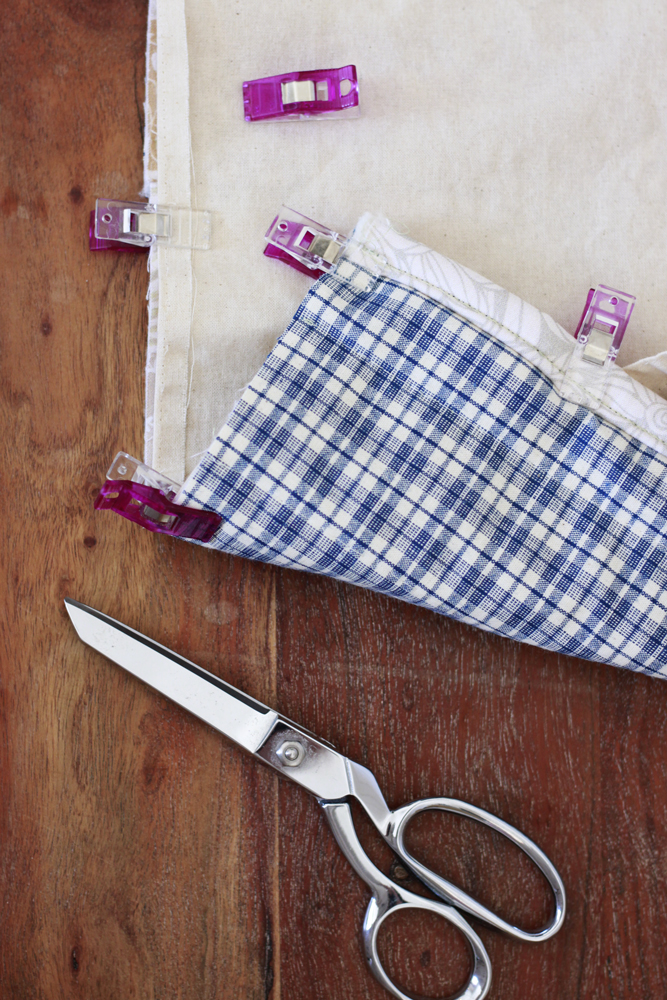
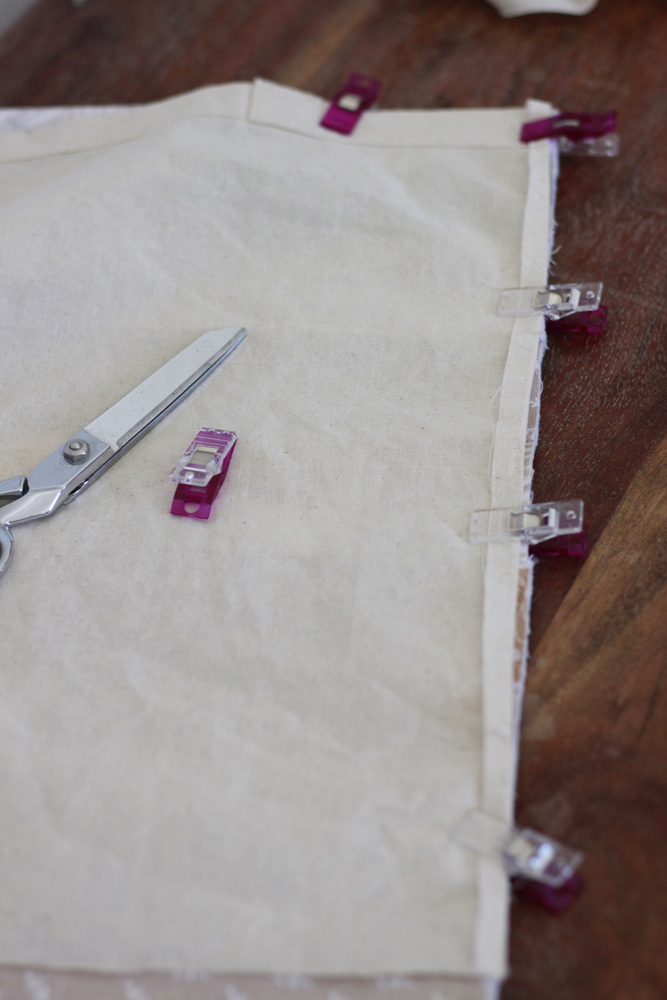
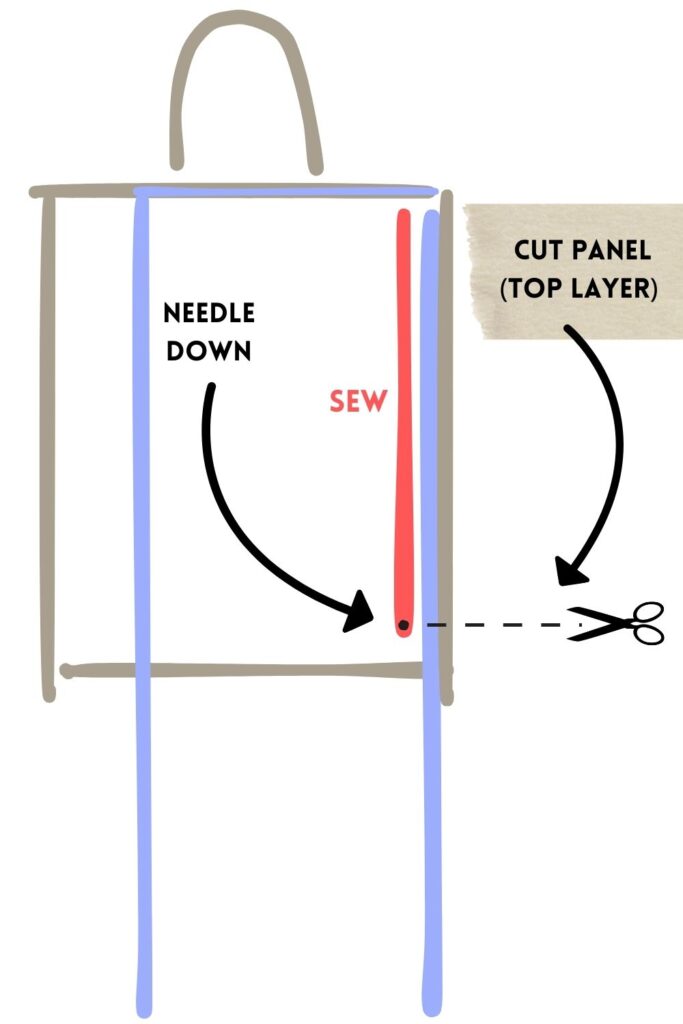
Follow the set up below, with the panel piece on top.
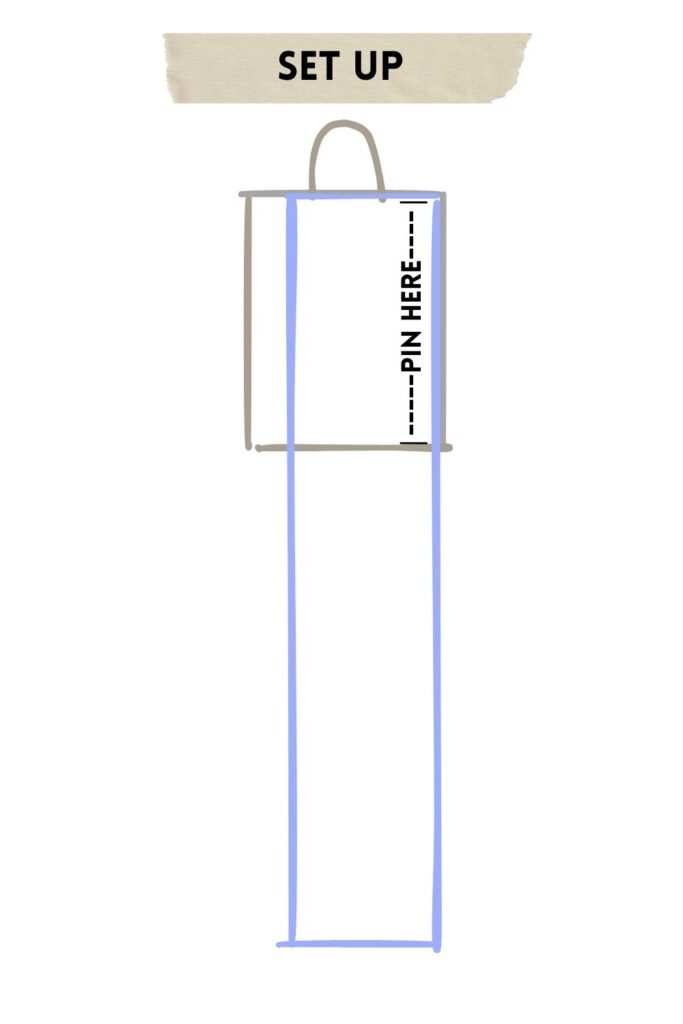
Sew from the top, along the side of your bag until you get to 1/4 inch from the bottom (or your seam allowance), and end with your needle down.
(With the longer panel piece on top, you’ll need to mark with a pin or pen so you know when to stop, as you won’t be able to see the canvas bag.)
Turning the Corner (Canvas Bag Bottom)
With your still needle down, lift your presser foot up, and snip the panel fabric but do not cut your stitches or the canvas bag.
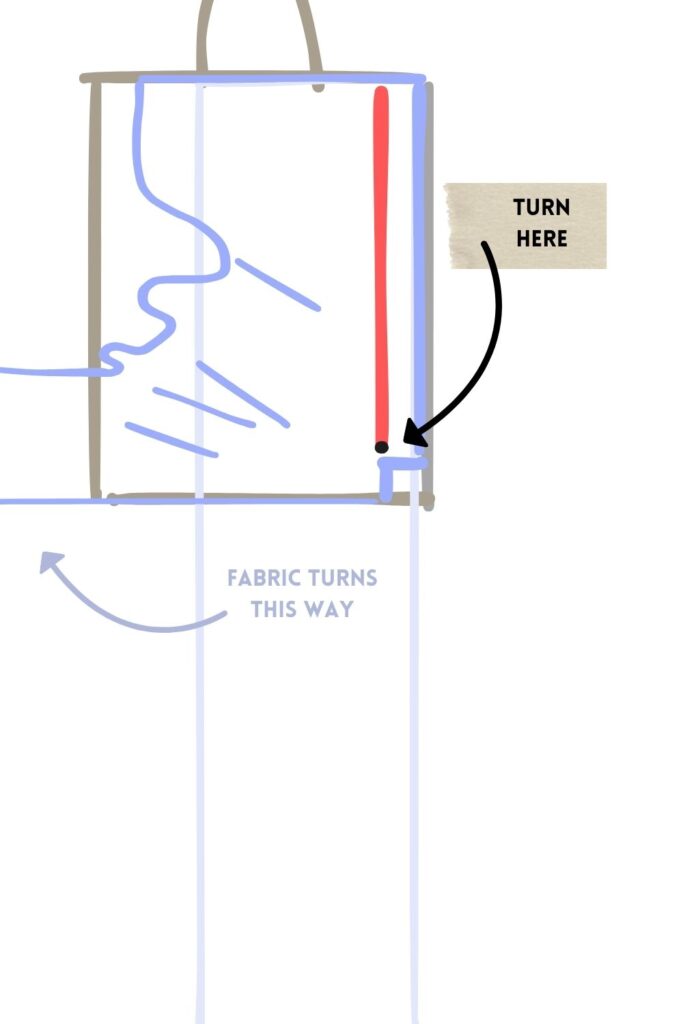
The panel is going to continue along the bottom and up the other side of the bag.
With your presser foot still up and your needle down in your fabric, turn your work. Swing the panel fabric so your cut slit is open and the raw edge of the panel in in line with bottom edge of your canvas bag.
Now, pin/clip and sew along the bottom of the bag.
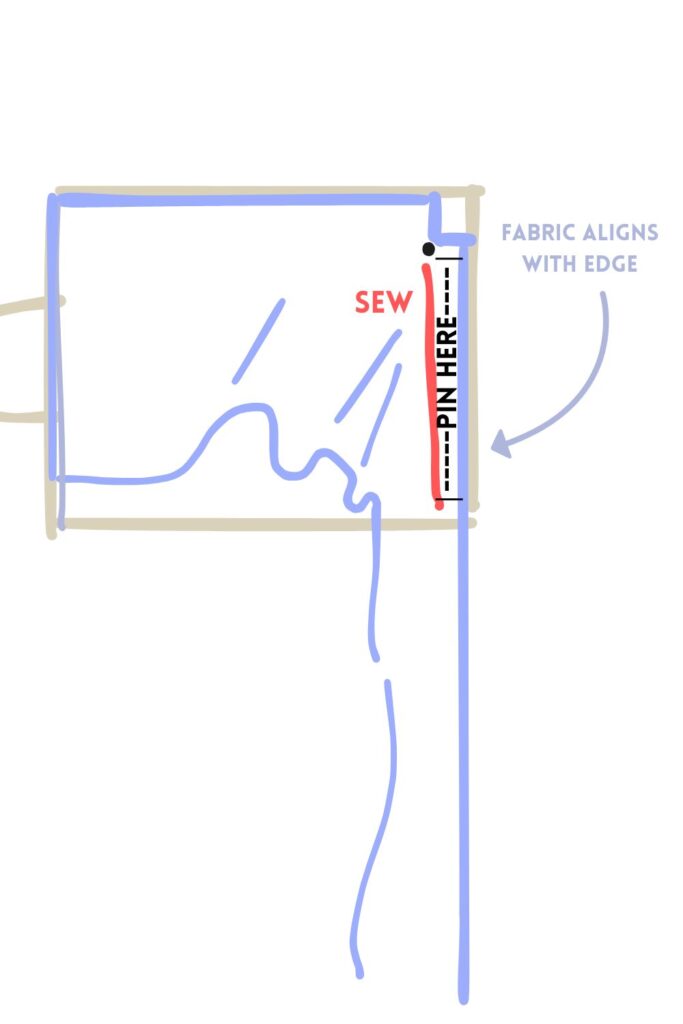
When you reach about 1/4 inch to the edge, you will repeat the turning process again. (End with your needle down, snip, pivot and turn the fabric. Align the panel with other side of the bag, clip/pin, and sew, traveling up the other side, finishing at the top.)
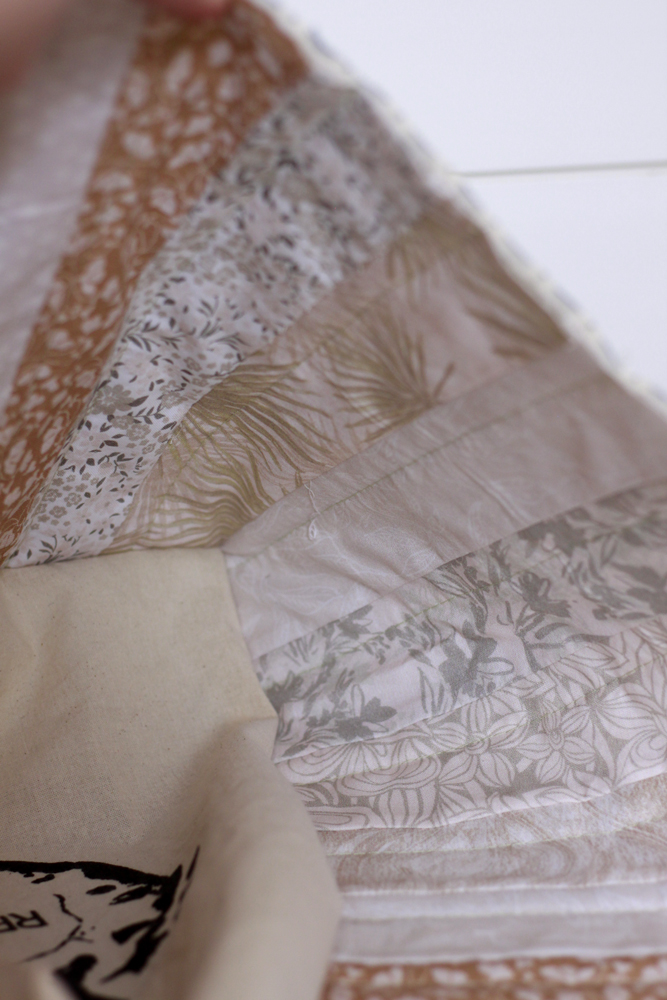
Attaching the Front
Attaching the front of the bag is the same process. Begin by seting up the panel and the front of the back with pins or clips. Sew and pivot on corners like you have before.

You’ll finish at the other end of the bag. To further enforce the bag you can zigzag stitch along the inside seams.
Are you hungry to find more canvas bags? I love these for grocery shopping and I especially like that I can throw them in the wash without worry. With just a few steps, scrap and a formly useless bag we have a larger reinforced tote. Don’t hesitate to try this tutorial and add your own personal touch.

Get more tips to make your home more eco-friendly on the Scrap Library:


3 responses to “How to Make your Reusable Canvas Bag Bigger”
Isn’t that clever!! I Love it! What an easy fix for small bags and no need to sew on handles. I’ll be saving this! Thanks for sharing!
Great idea! Helpful graphics too! Thank you!
Love this! I am going to show my daughter and see what she can come up with.