What is a Puff Quilt?
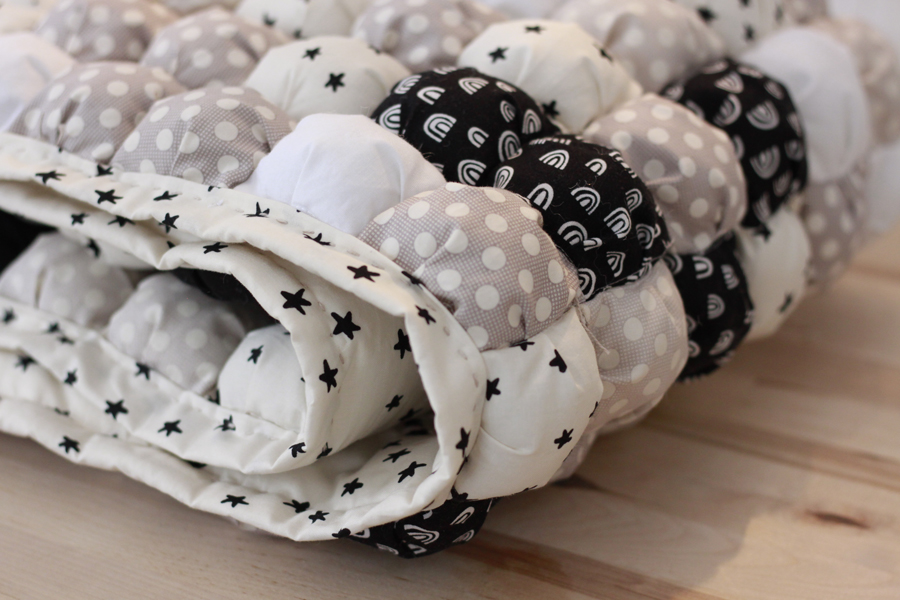
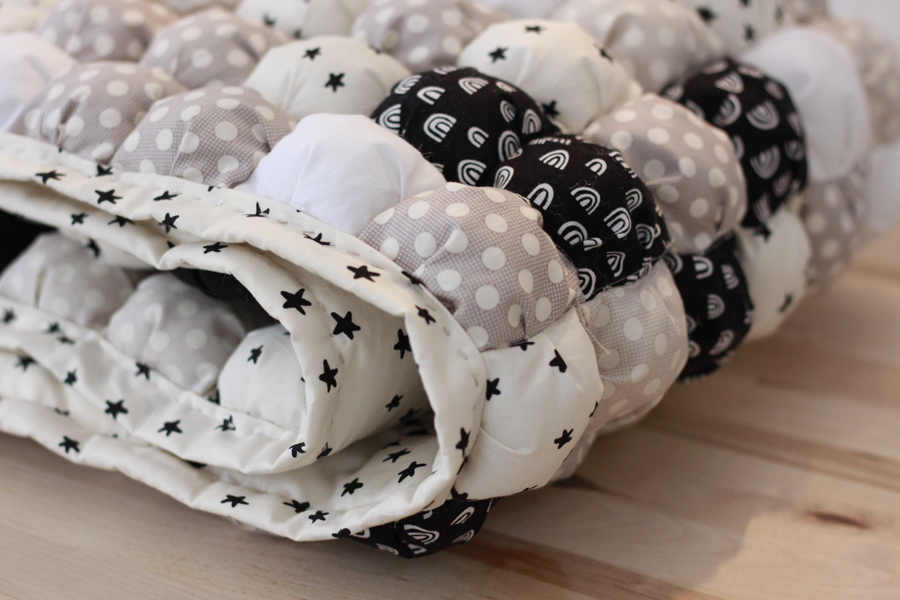
Puff quilts (or also called Biscuit quilts) is a quilt concept with stuffed pleated squares. Sometimes it’s a square folded in half to make a triangle pocket. My great-grandmother did it this way and hand-sewed the triangles together. It’s an exceptionally cozy, comforter style of quilt and a true labor of love.
How Hard Is It To Make A Puff Quilt?
Don’t be scared away by these quilts. The physicality of working on a heavy quilt is the hardest part. This quilt is a great project for a beginner looking for a longer project. The amount of sewing it takes to do a puff quilt it repetitive and laborsome, this makes it fun to do with a group.
Don’t take shortcuts
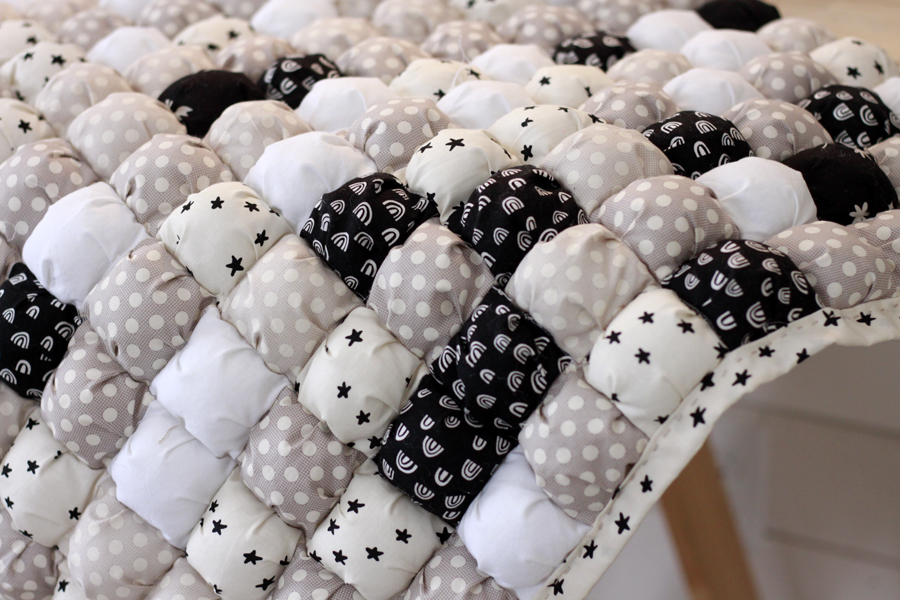
Don’t think that making larger squares will make it easier. Depending on the size of the square you choose creates a different effect. Before you begin, read this link to learn about the the different outcomes the puff size will create.
How to Make a Puff Quilt Square
To make each puffy square you’ll need two squares. The larger square will be the visable part of the quilt. The smaller square on the bottom will be scrap.
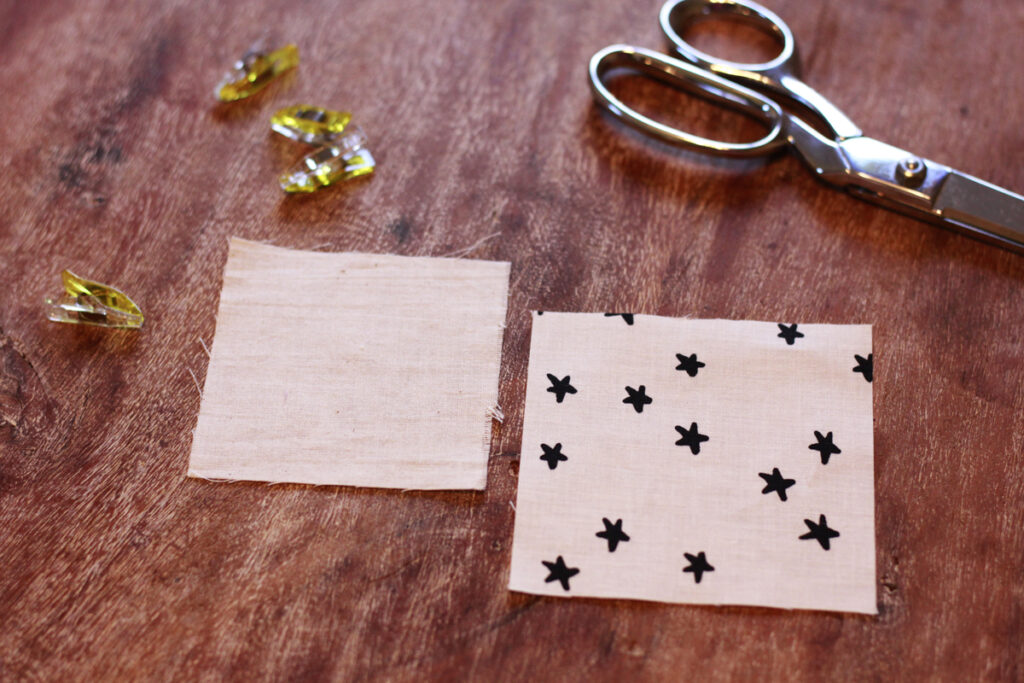
You can use a bed sheet, muslin, or something from the scrap pile. You won’t see this fabric in the finished quilt but make sure your scrap isn’t a bold pattern that may show through.
To learn more techniques to save money quilting read about quilting with solid colors:
Puff Step One:
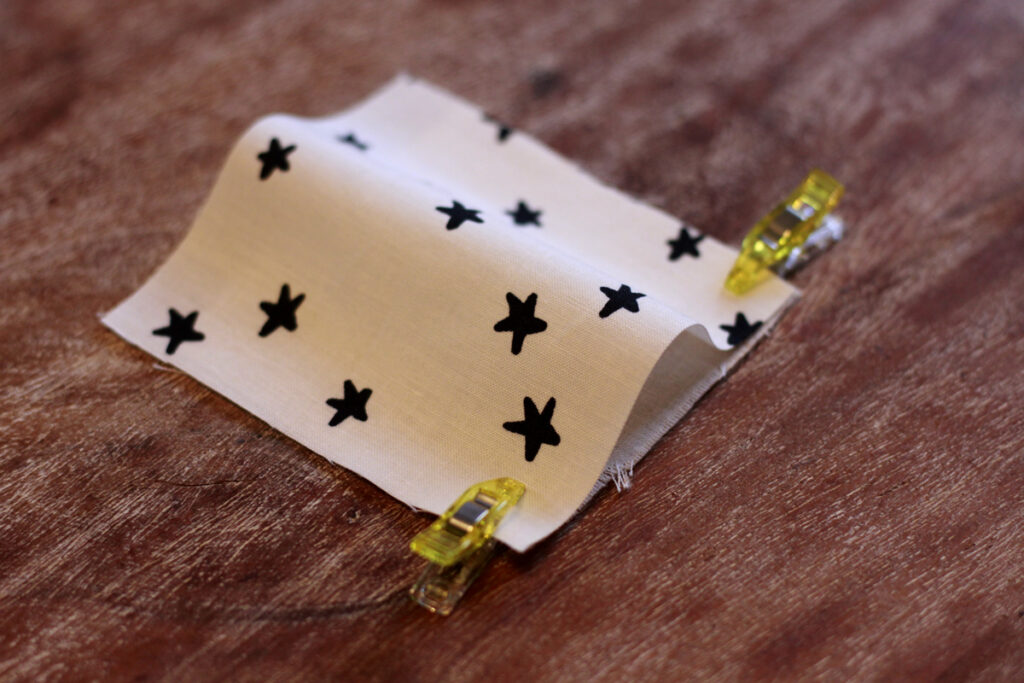
Placing the top square on the bottom square, line up one of the corners and clip or pin. Do the same thing on the corner directly below, naturally, the larger square arcs over the bottom.
Puff Step Two:
Place the corner in the sewing machine and begin to sew. Just before you get to the middle, stop with you presser foot down.
Puff Step Three:
Slide, using your finger or a stiletto, the arcing fabric and begin sewing, making a natural fold in the fabric.
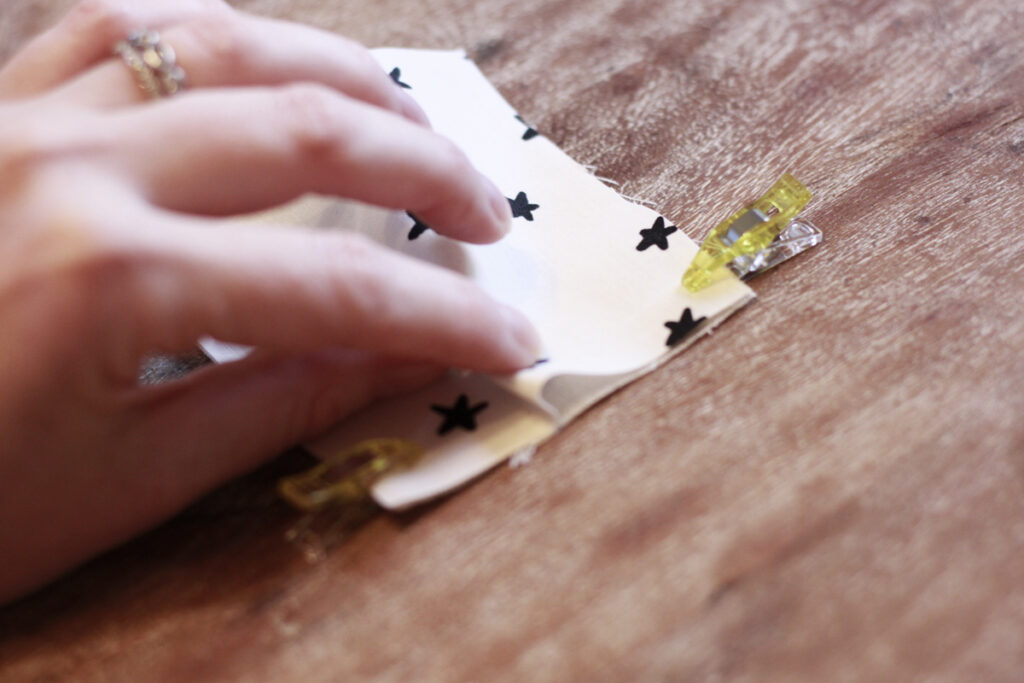
Don’t bother marking the middle, do your best and keep sewing! Believe me when I tell you this will not be noticeable even if every square’s pleat is off center. Once everything is sewn and stuffed it’s so fluffy you won’t see anything but cotton pillows of heaven.
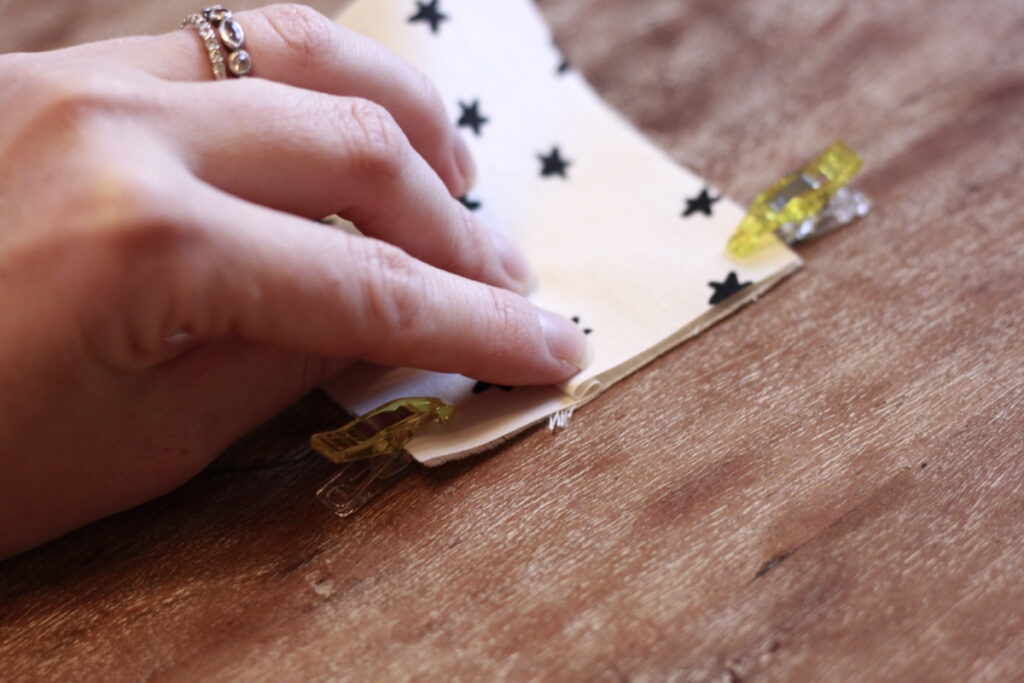
For every puff, sew on three sides, leaving the fourth side open.
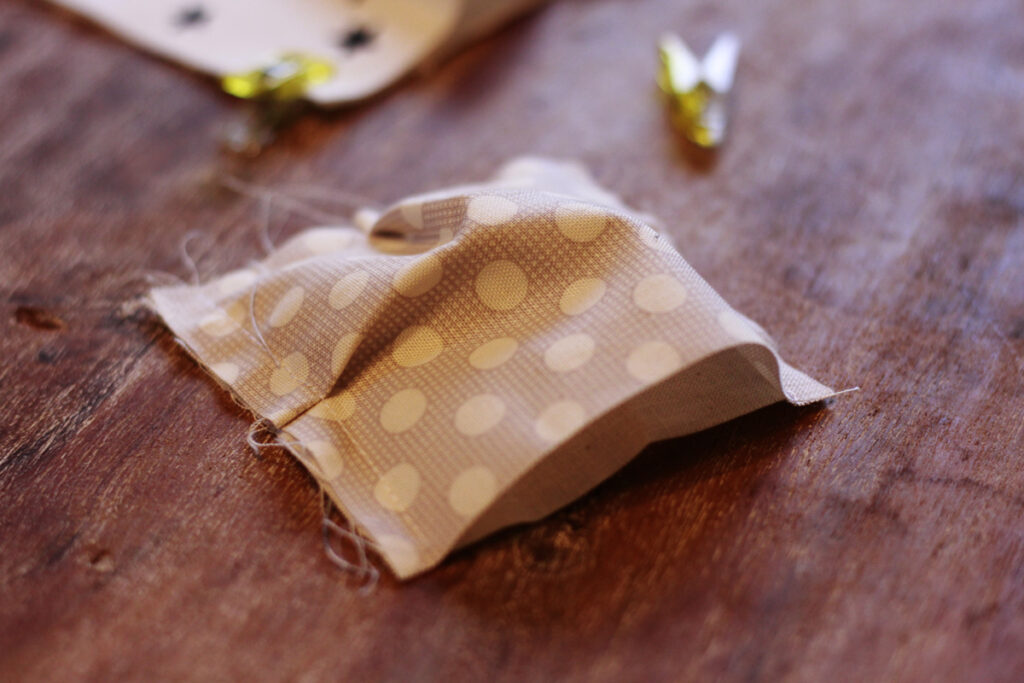
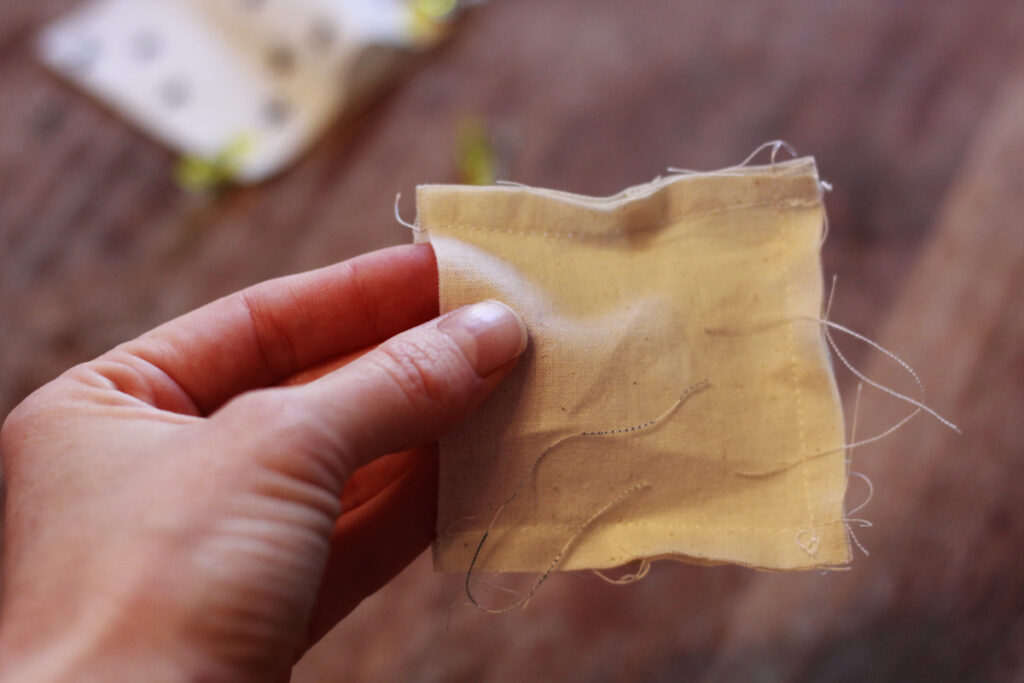
Chain-piece the puff squares to sew more efficiently and save thread.
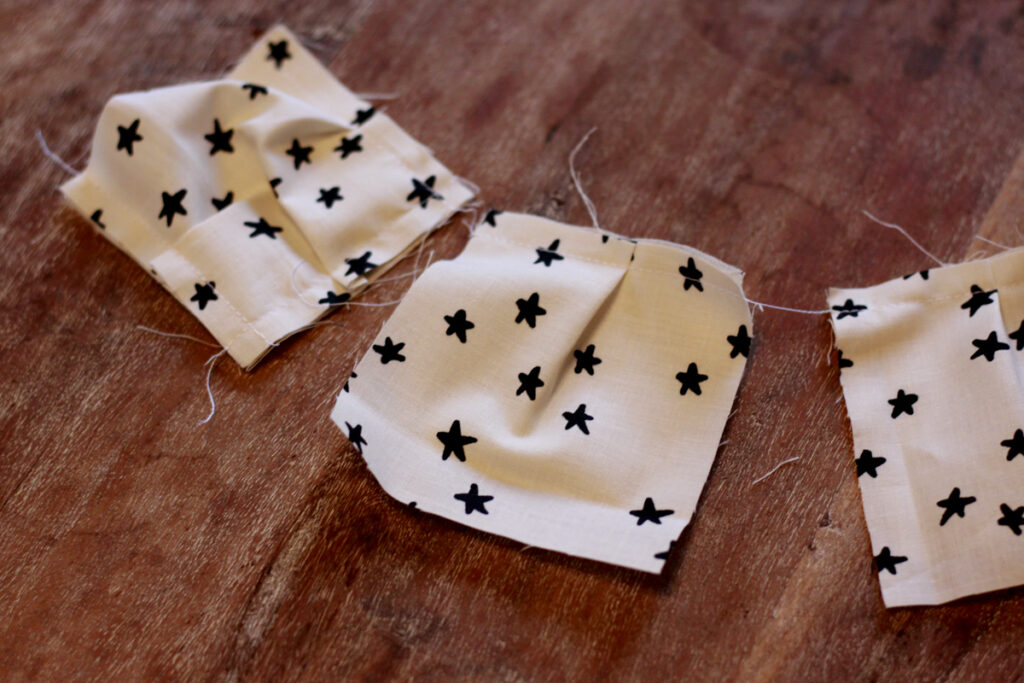
Piecing Puff Quilt Rows
Again, puff squares should be sewn on three sides before they are joined.
Step One:
Piece the blocks in rows, one line at a time, keeping open pockets on the same side.
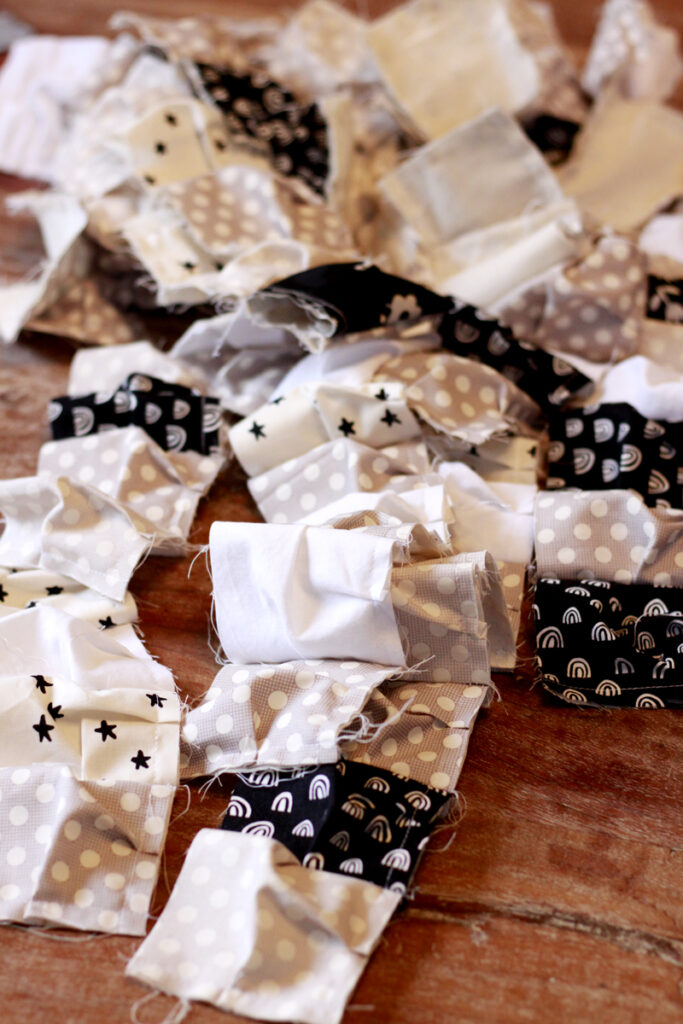
If you accidentally put a few “open” sides on the wrong side don’t rip out, it’s easy to fix as you go.
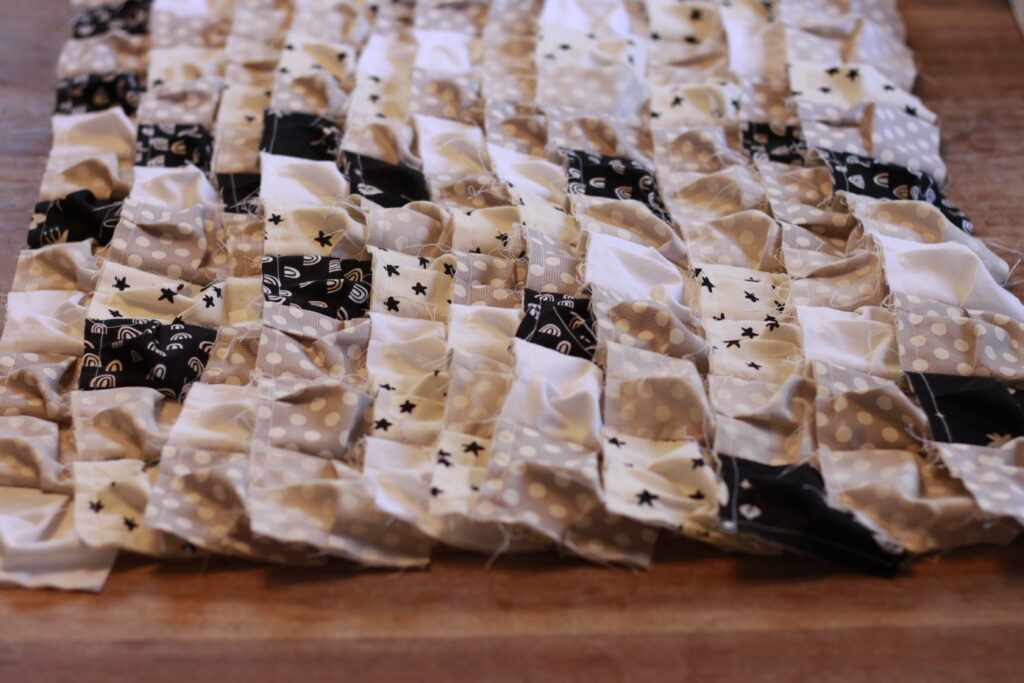
Step Two:
Once the rows are created, stuff the first row and sew the open side closed using the same folding technique with your sewing footer.
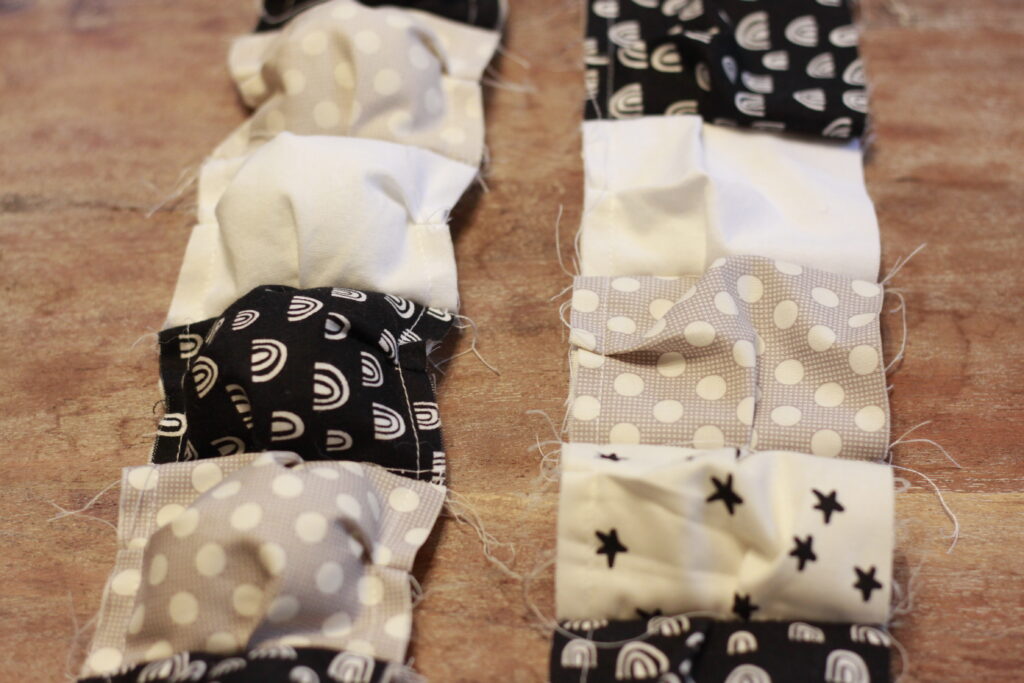
Step Three:
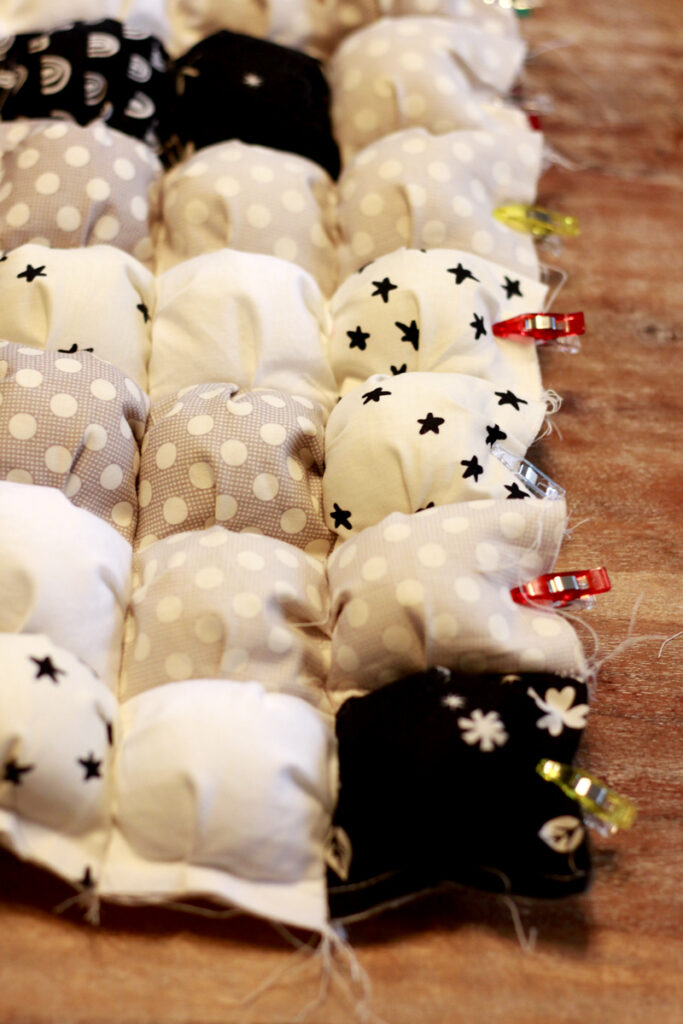
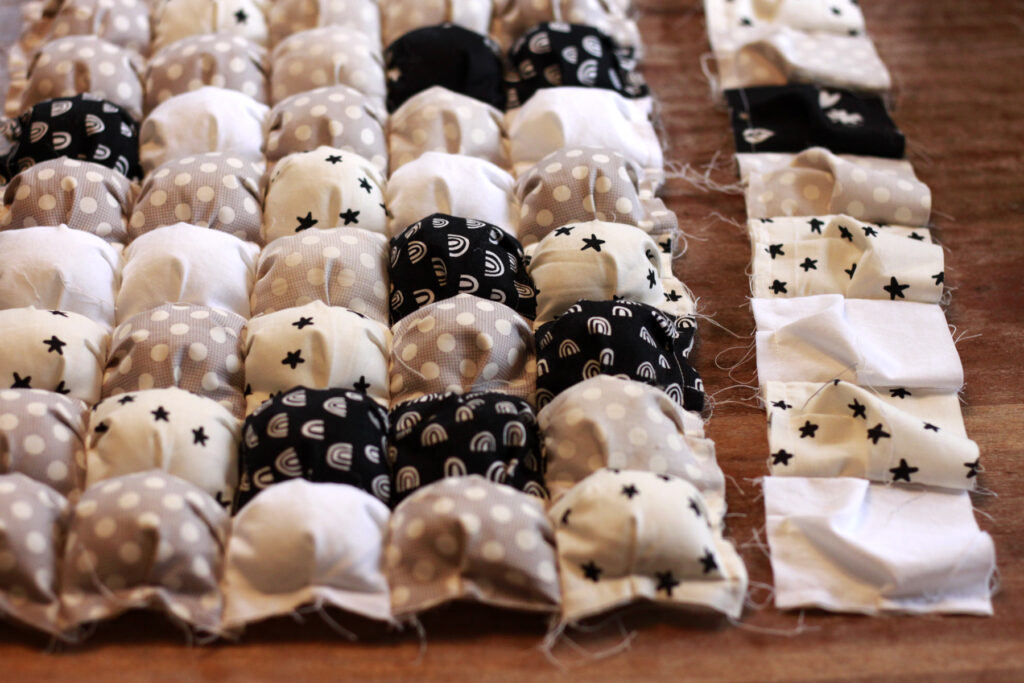
Then, attach a row of unstuffed puff squares. Nest your seams. Once the row is attached, stuff the squares and sew close shut using the same folding technique.
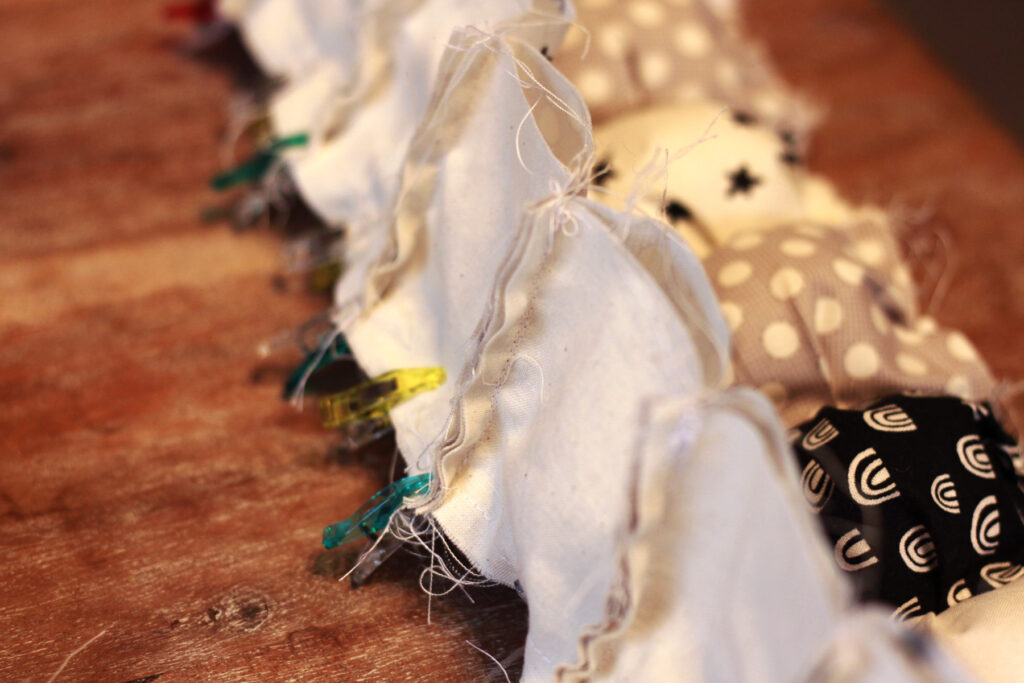
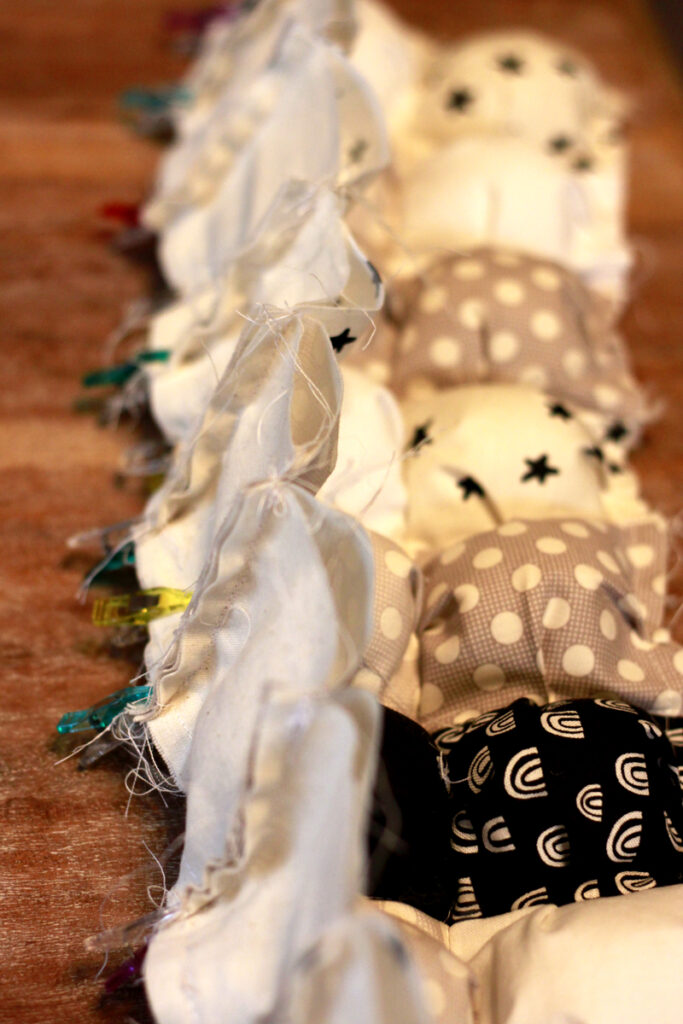
Repeat closing, attaching and stuffing all the rows until you are finished! If a row has an “open” square on the wrong side – sew it shut before you attached.
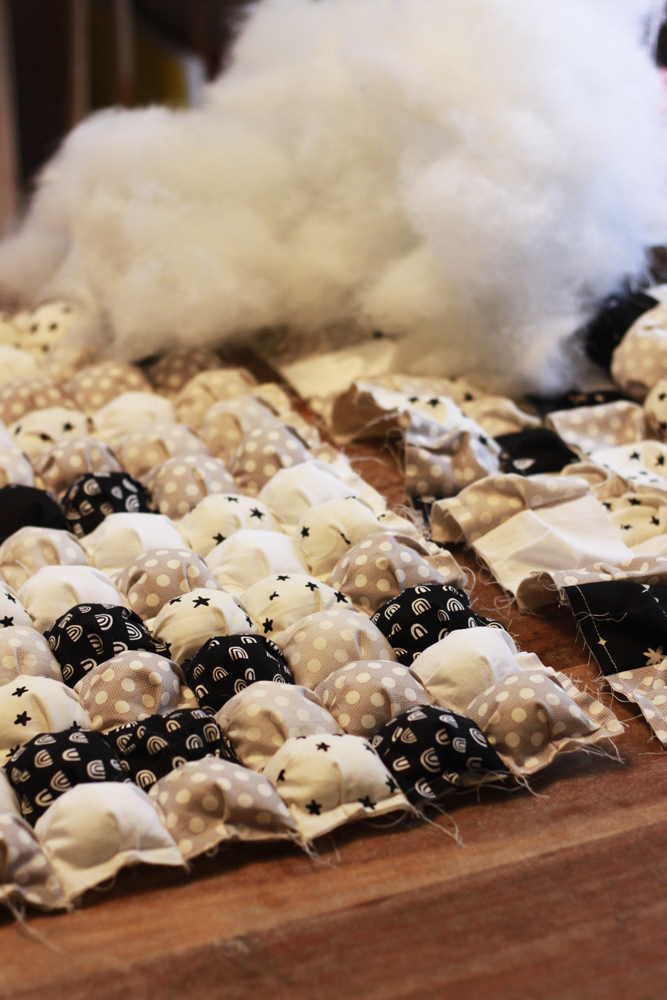
Backing for Puff Quilts
While this feels very close to done, there is still the backside to finish.
Your backing fabric should be 3-4 inches wider than your quilt’s size on all sides. At this point, you will create the traditional quilt sandwich. (In the image below this backing is more than 3-4 inches.)
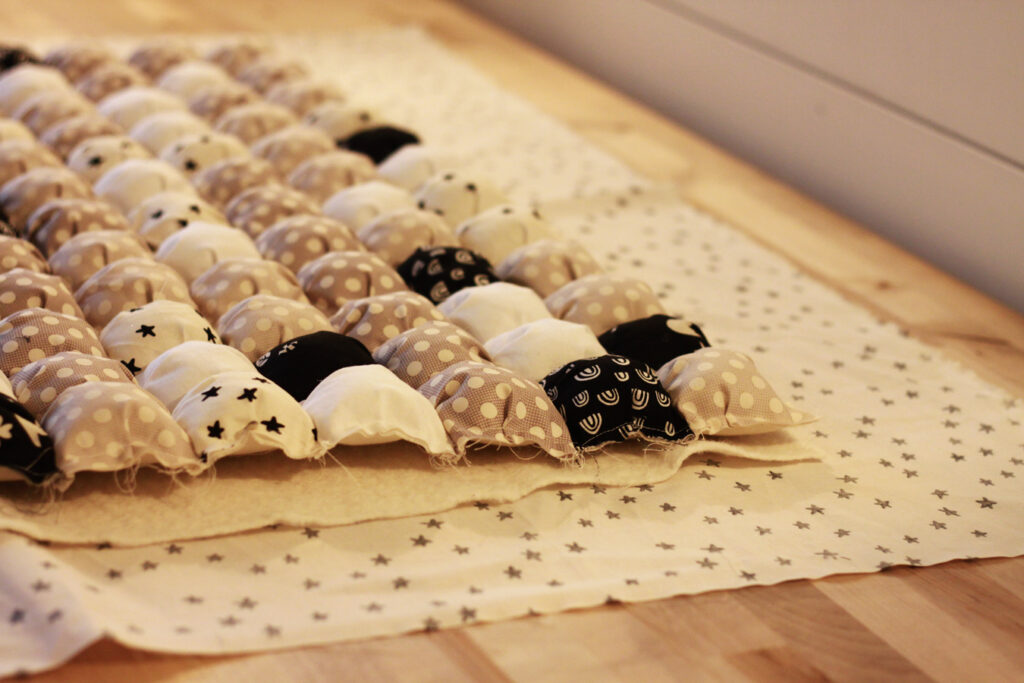
Tip: I like to add a layer of batting in-between the top layer and the backing fabric. This helps the raw edges of the square quilt from showing through.
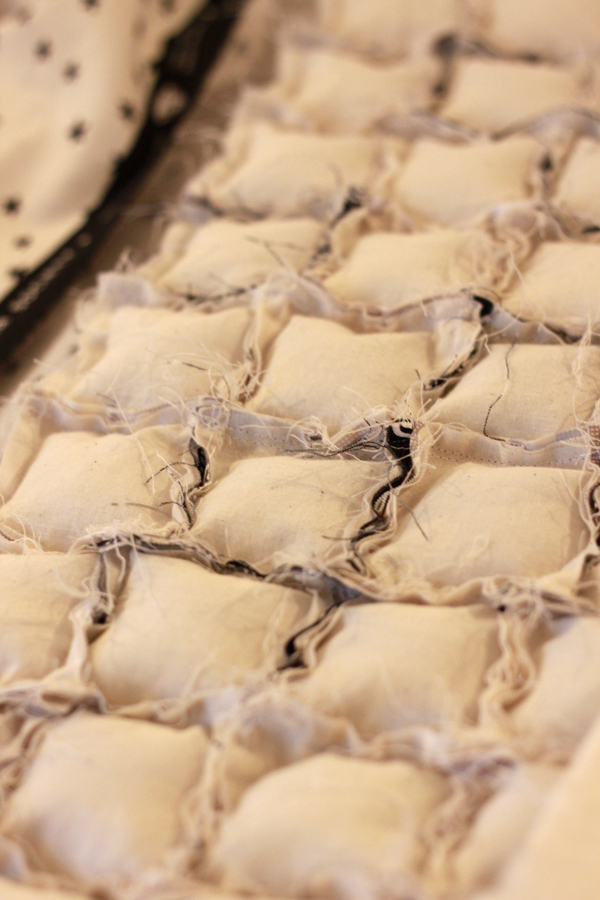
Puff Quilting Options
Different puff sizes may require different quilting. Once your puff quilt layer sandwich is set up, it’s time to quilt. You may consider securing your fabrics with spray adhesive before quilting.
Yarn Ties
When you make a large square comforter-style puff quilt, stitching can be almost impossible to break through the layers. For that reason, ties are a good option for the quilting. They are sturdy and I didn’t need to do as many to secure the layers.
I recommend using a U hook when working through layers. I recently bought a new tool to help with this, if it works I will update it.
Hand sitching X’s
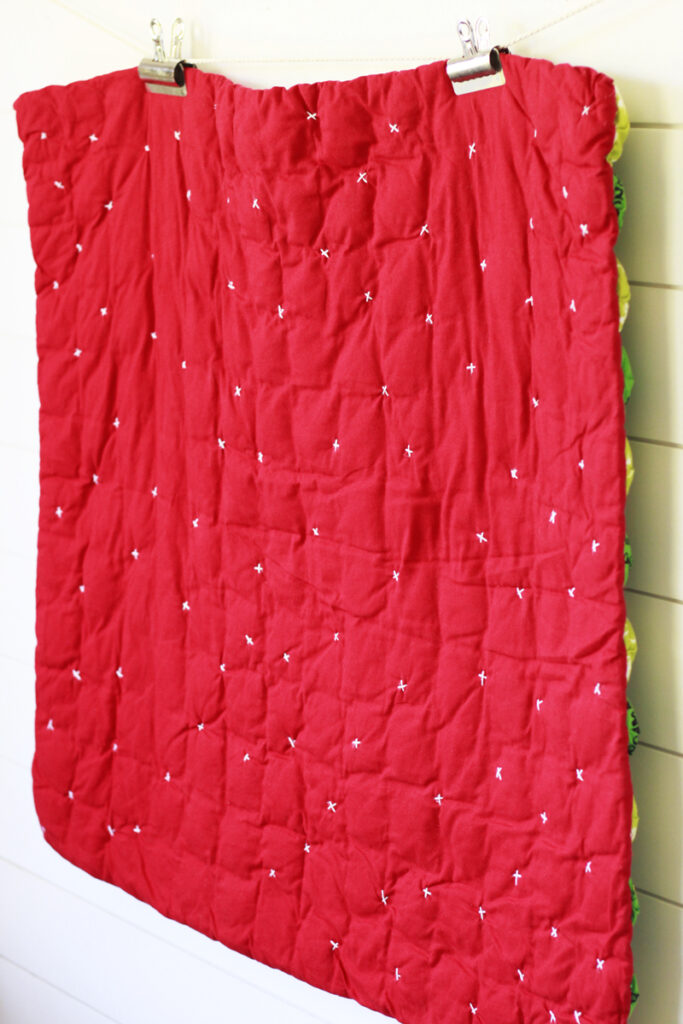
Guilty, this is my favorite look. It’s the cozy, classic factor. In this Christmas puff quilt, I scattered the X’s randomly.
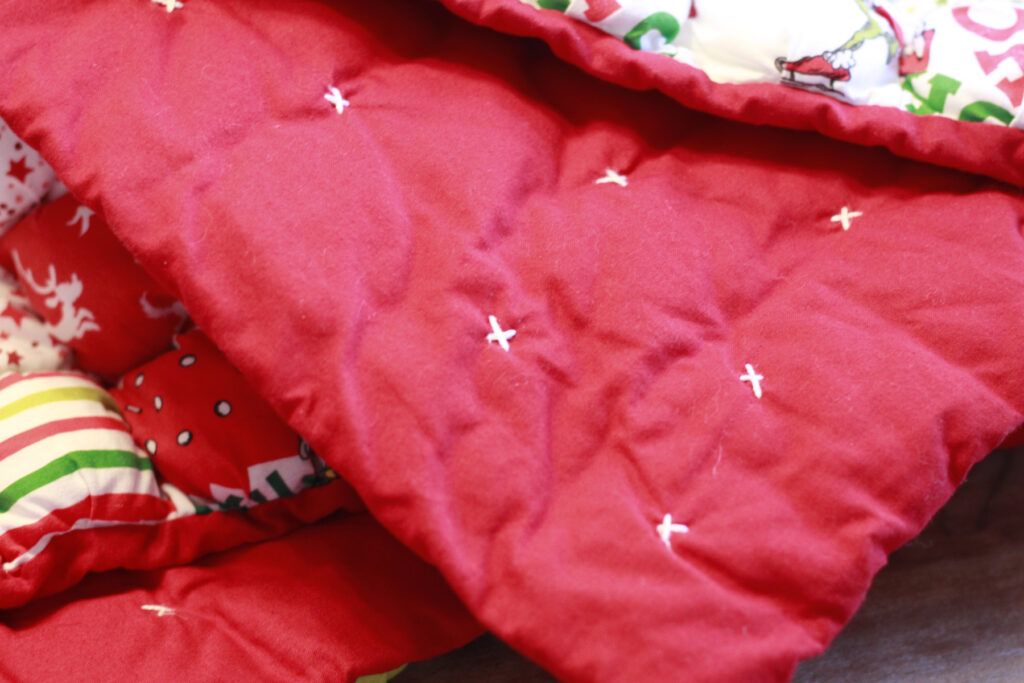
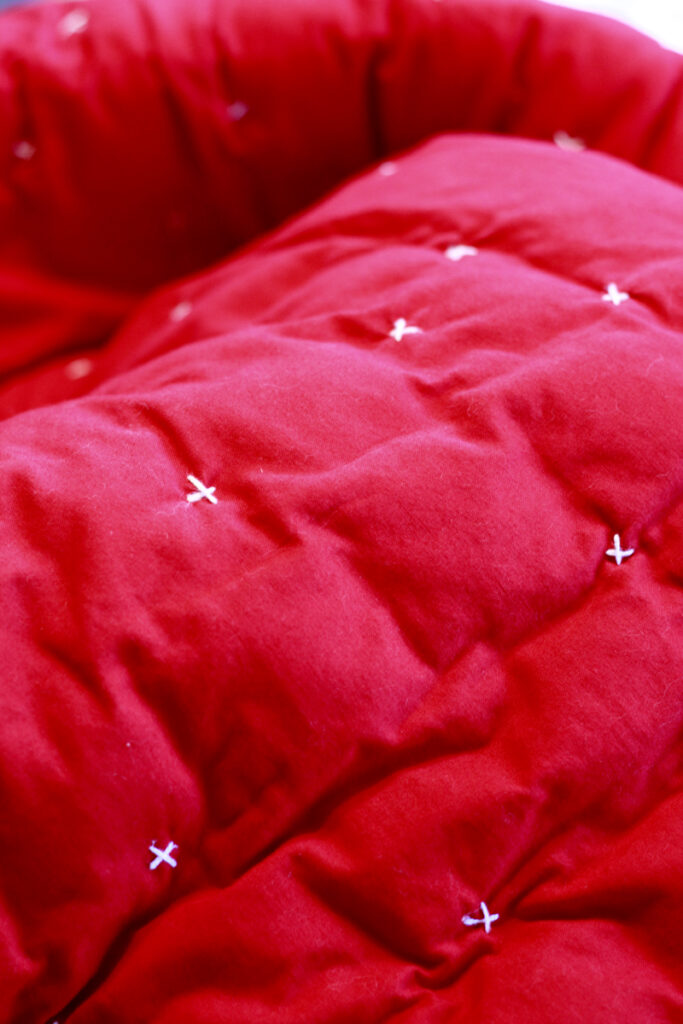
This looks like a sky of scattered stars to me. But this can also be done neatly in lines.
Tacking with sewing machine.
Using zig-zag stitch, set the length to zero but width longer. Go back and forth in one place until the desired thickness is achieved.
Tip: Before you choose this method, test how much of your puff quilt you can put through the throat of your machine to decide how far apart to tack.
There are other ways to quilt the puff quilt and hold all the layers together but these are my favorites. I encourage you to do what works for you.
Edge, Binding & Finishing
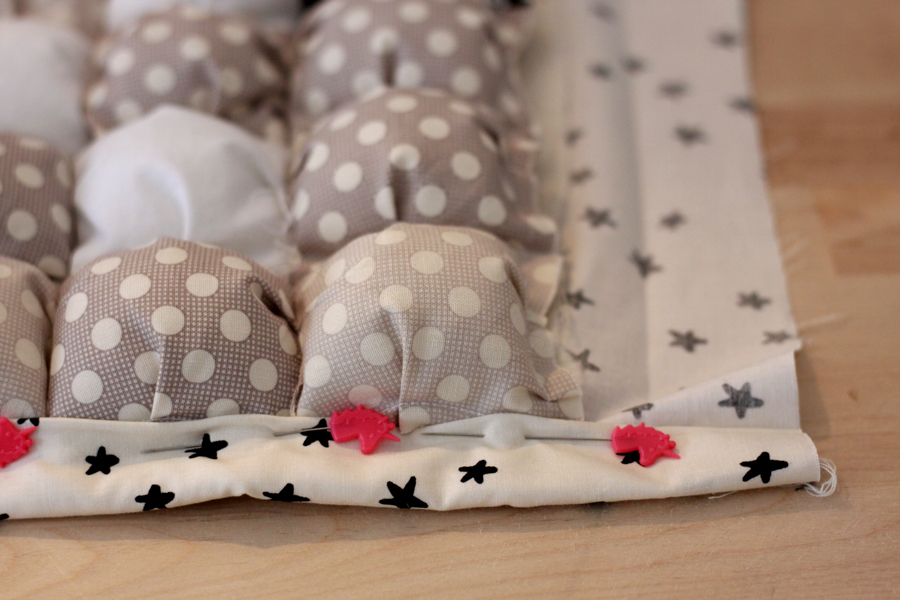
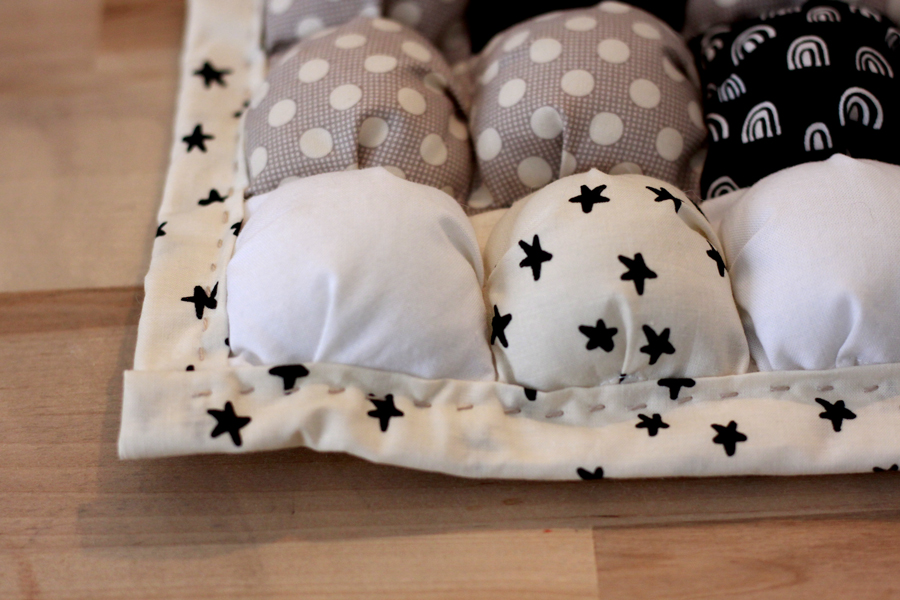
I prefer to “finish” my puff quilt edges by folding over the backing fabric and securing with an invisable hand stitch. Alternatively, you can make a visable stitch like I’ve done below for added detail:
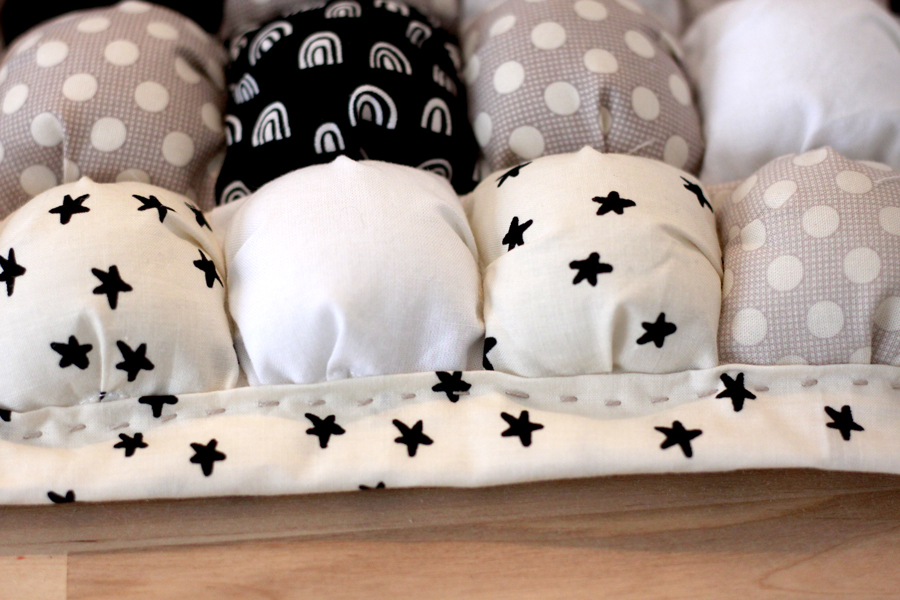
How to pin the edges for stitching either invisible stitch or visible decorative stitch:
One response to “How to make a Puff Quilt”
I know this if off topic but I’m looking into starting my own blog and was curious what all is needed to get set up? I’m assuming having a blog like yours would cost a pretty penny? I’m not very internet smart so I’m not 100 sure. Any recommendations or advice would be greatly appreciated. Thank you