Make a fringey, fun and versitle tassel with this simple step by step guide. Tassels can be made from materials found at home and can create a unquie touch to your decor, gifts and tablescapes. Build on what you learn in this tutorial to add more texture and personal style.
After sewing drop cloth napkins and reusable cloth-style paper towels, I had a ton of drop cloth trim left over and will use the scrap ends as my tassel material. (Click here for drop cloth napkins)
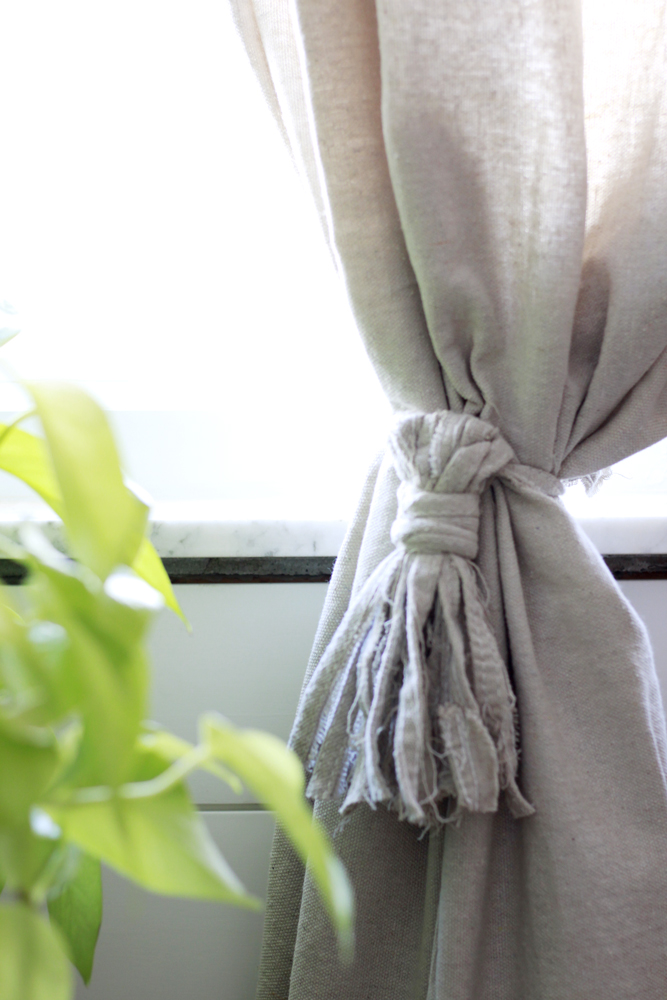
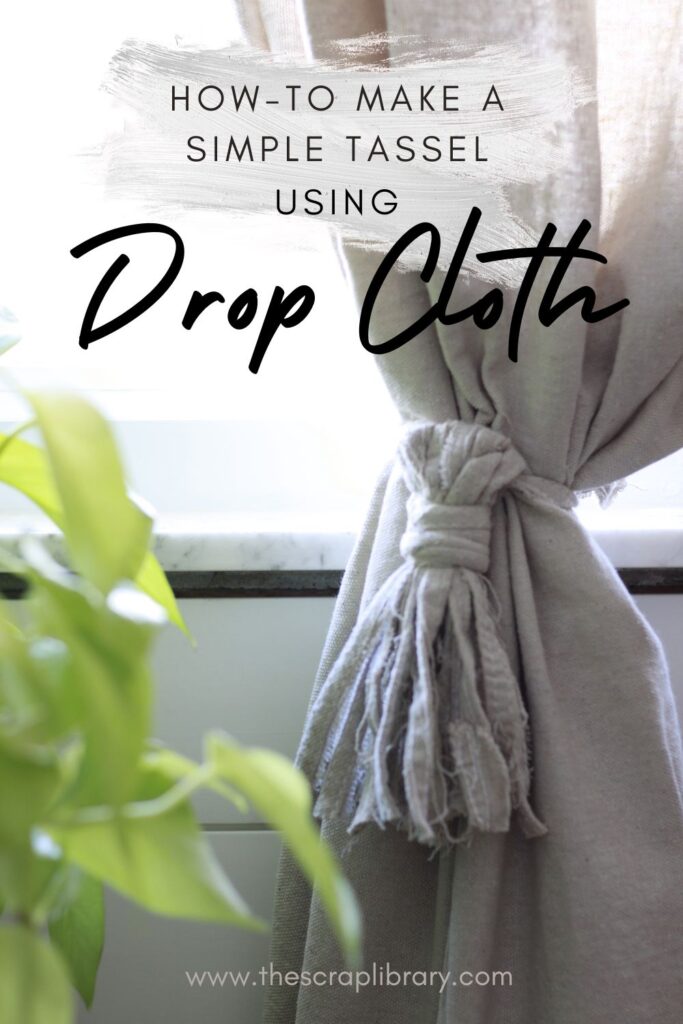
Drop cloth has a beautiful rustic look in a warm grey. Depending on how you cut and wash it the look can change, so follow along! Tassels can be decorated with in any room of your home or attached to bags or accessories. They make great items for parties, holidays and eco-friendly gift wrapping. By using different materials, you can make your own personal statement to go with your theme, season, or style.
Getting Started:
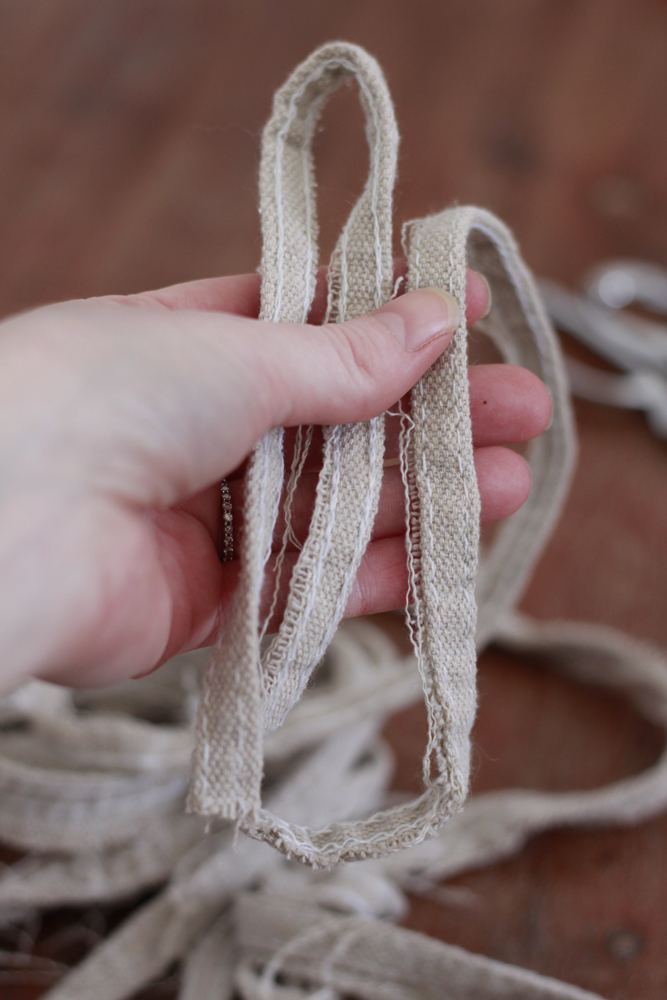
To make this tassel you’ll need roughly 2 and a half arms lengths of material. The amount of fabric you can use is very flexible for a simple tassel. Smaller tassels can be one and a quarter arms lengths. If you are making small or large tassels use materials that make sense for the size.
These lengths will give you a starting place to expiriment with and customize how large you want your tassel. You will be able to see quickly how big the tassel will be and can adjust. Drop cloth can be resewn together if you make a premature cut. The raw look of this material will only be enhanced with character and texture.
Begin to fold the fabric into your hand, zig zagging backand forth.
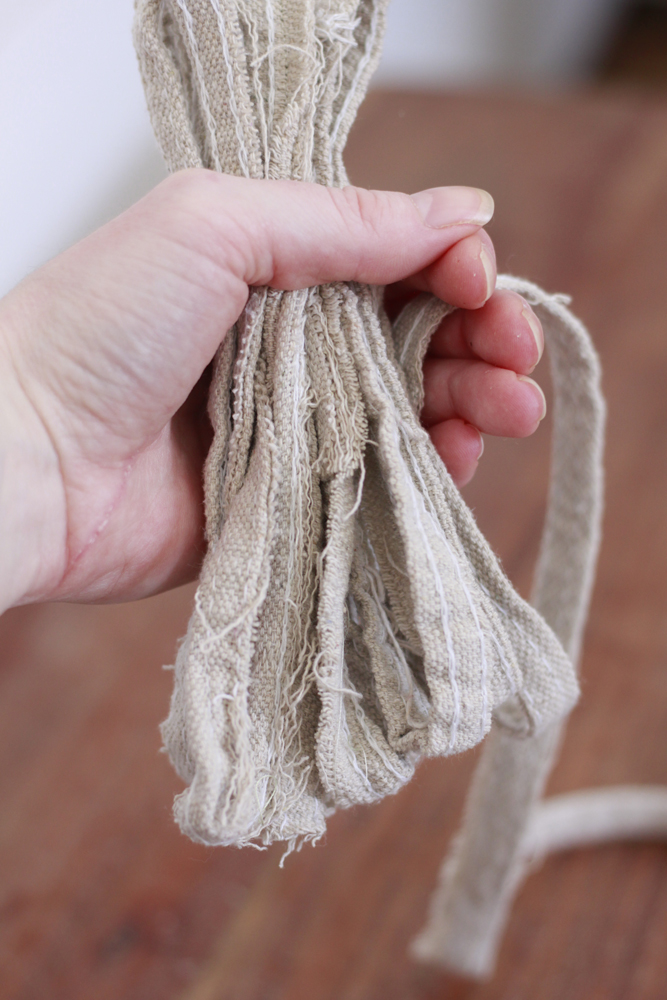
Once you have less than and arms length of fabric left, cut the fabric.
Securing the Tassel
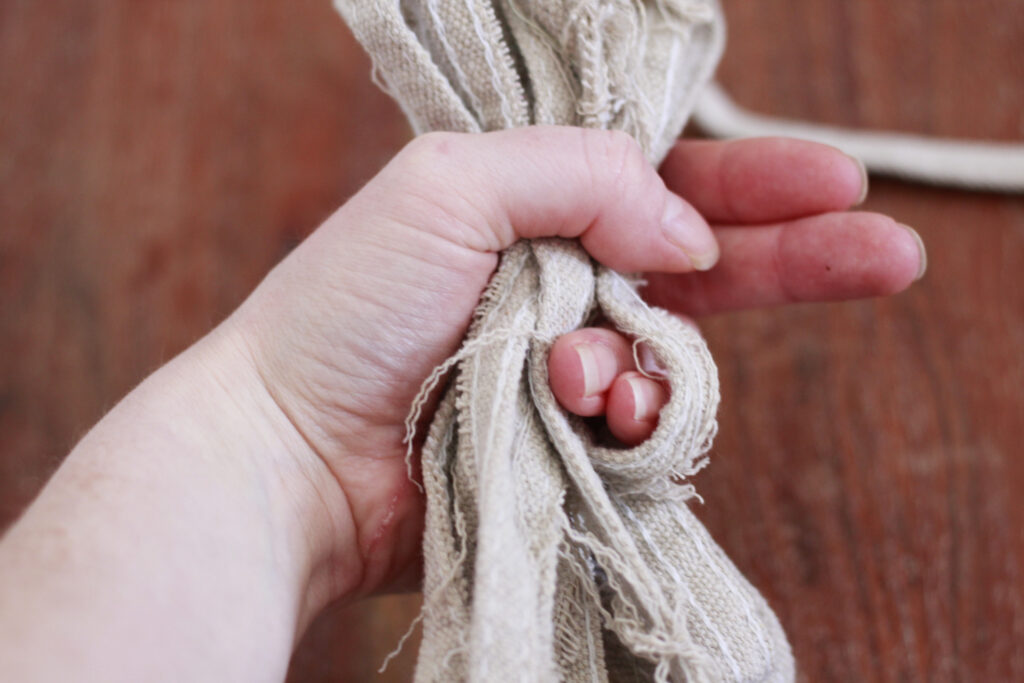
Hold the fabric where you want the wrapped fabric to be. If you want to thread or hang as a tassel garland make sure to wrap with enough space at the top for material to pass through. Fiddle with the fabric to allgin the loops.
With your leftover fabric, fold it like below and place it on top of your bundle.
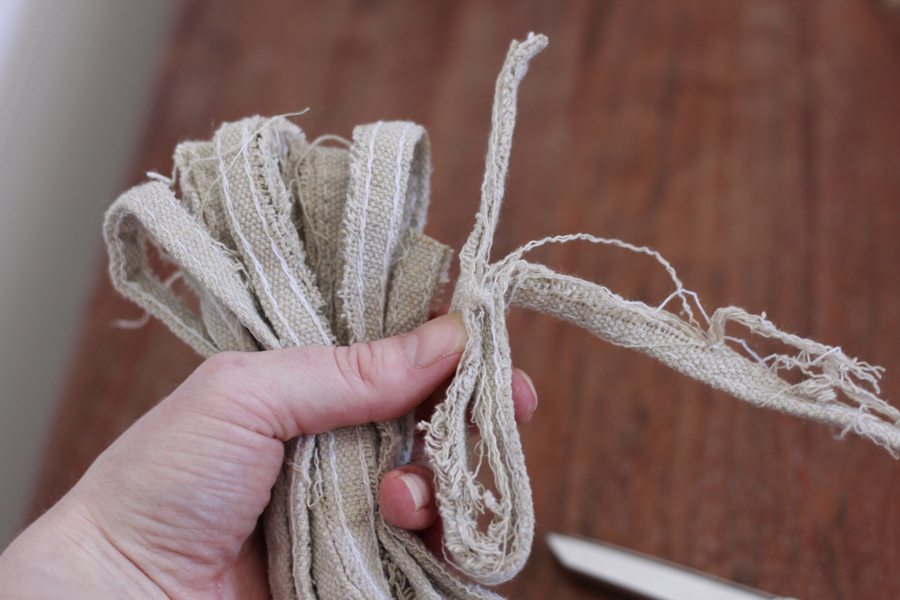
With the loop on top of the bundle, begin to wrap the fabric around the bundle creating a neck, starting high up on the neck of the tassel. Wrap the fabric moving downward. You can do this messy quaility or you can do this with the fabric neatly lined up carefully, each has it’s own look.
Finishing and Tying the Knot

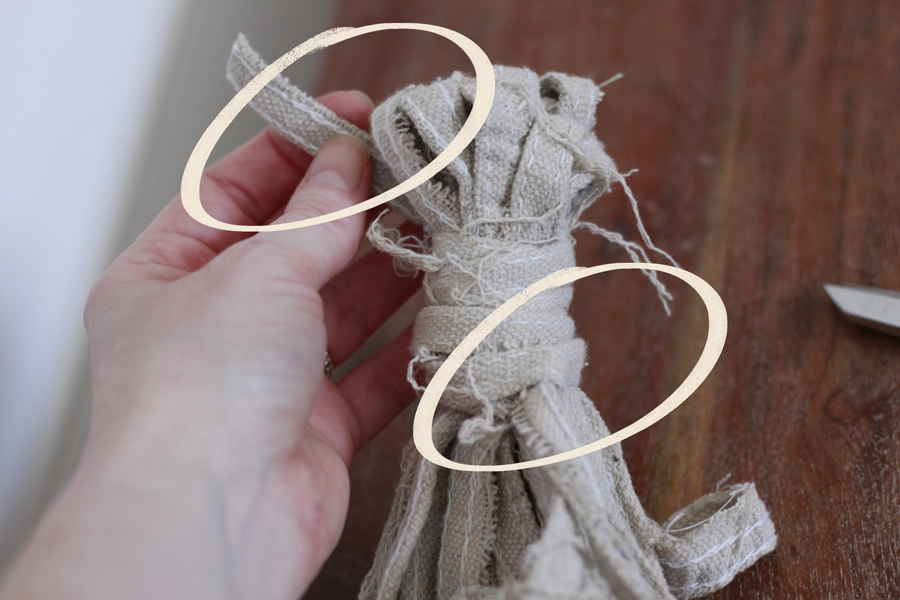
When there is less than a handprint left to work with, thead the end through the loop created previously.
Pull the other end of the wrapped fabric hanging out at the top. It will magically suck the loop up into the tassel. Fiddle with the end loops to get them to look nice before you lock in the knot tightly. If you do it correctly you will find it will secure very tightly.
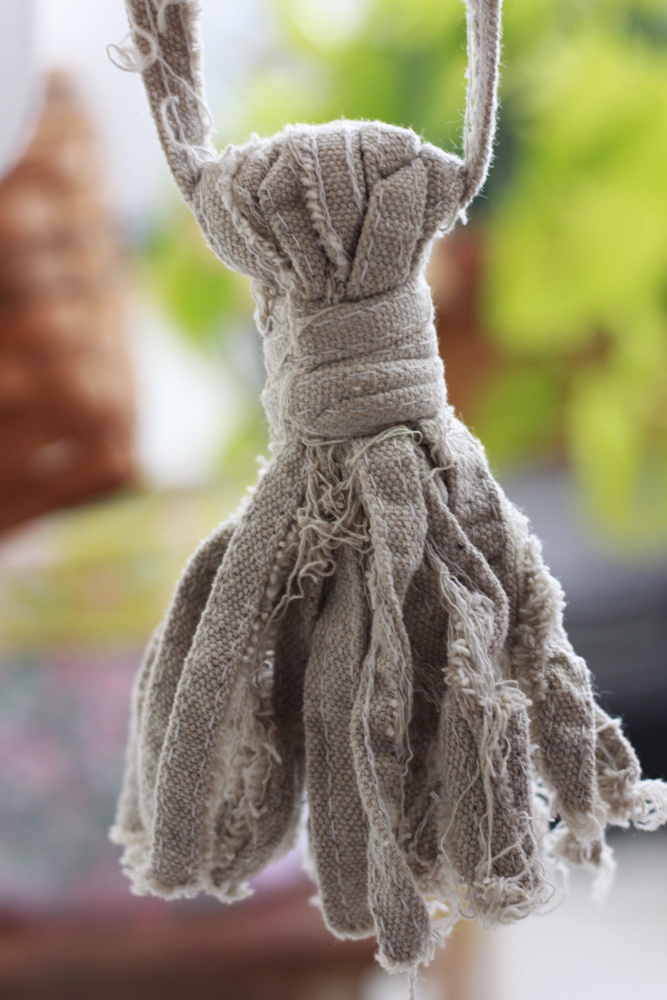
Trim the ends to keep it well hidden.
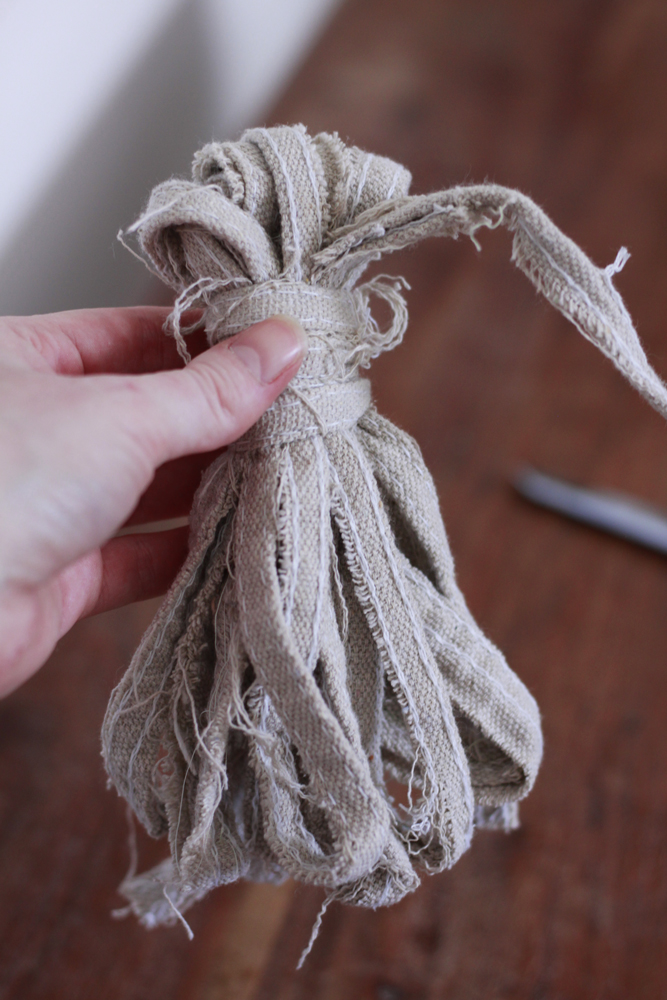
Cut the tails open or keep them together in loops. For your next tassel, you can also wrap using contrasting materials, such as macramae cord or other textured fabric, rope, scrap even leather.

This drop cloth material has been shrunk in the wash from previous projects. Whether you prewash your tassel supplies or wash after, it will create a different look. Consistency is important if you are makinig several for drapes or a tassel garland.
Cut, wrap, and fold, that’s it. Give yourself a few tries to get a hang of this fun tassel craft. Use this guide as the groundwork for many beautiful projects to come. Once you learn the basics, you’ll be putting a tassel on everything.


2 responses to “Simple Tassels Step by Step”
My daughter is going to love this for the curtains in her room. Thanks for the idea.
I love this! What a beautiful tassle from scraps. I’ll have to come back later and try it. What a sweet idea!